Search the Community
Showing results for tags 'Blender'.
-
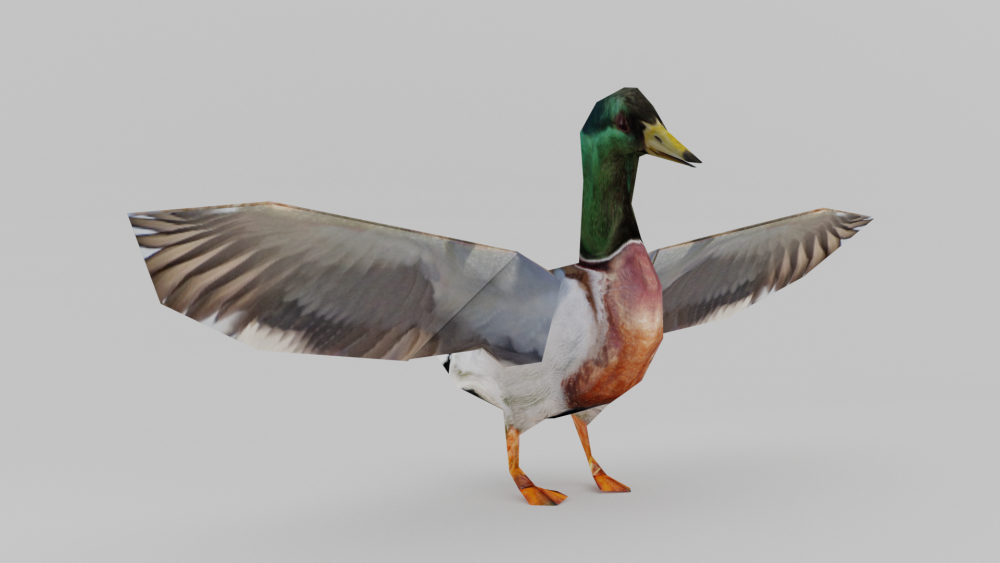
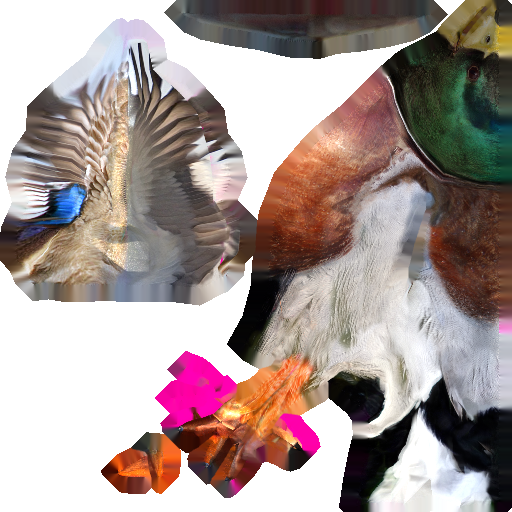
Hey folks, There is the contribution for today. Way harder than I though it would be. The result in low poly up close is really funky. But at distance I seems fine. Added a proof of concept animation as I had that idea of using span pose and use a deform bones to make the swimming/walking/chilling pose. Happy that it seems to work, maybe add a third wing 'layer' that would scale during closed wings poses so that it would be invisible the rest of the time. Kinda of out of the box idea, don't know if it'll work. What a odd little bird. The animation is bad mind you, a lot of the weight painting is to be tweaked. I was mostly interested about the idea of using that technique to have the same model walking and flying or if it's not necessary because it will never happen in game? Also I learn that the males change their colors during something called eclipse, and look a lot like the female (texture is next by the way). Soooo... I saw that there will a season system that could be implemented, I got some ideas to add texture season specific to the animals that have low variation in general. Using the alpha as a mask for snow for example (there were a lot of bisons like that). I digress. As always feedback and critique are welcome. https://streamable.com/jmuluh The files: Note: It's late and i saw that the texture has the artefacts of before topology cleanup in the low poly version. It doesn't affect the texture because it's out of the uv zone but I'll see to bake something more clean.
-
Here are some tutorials for making procedural materials (Materials that doesn't exactly need a texture image for looks good) Have fun. Eyes making https://en.wikibooks.org/wiki/Blender_3D:_Noob_to_Pro/Advanced_Tutorials/Procedural_Eyeball_in_Cycles Marble/Stone like materials and Cracks/veins https://cgmasters.net/free-tutorials/blender-cycles-tutorial-stonemarble-how-to-make-any-texture/ Letters animations (Maybe for making introduction videos).
-
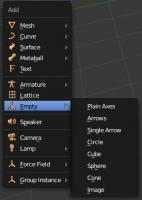
What is a prop-point? A prop-point is a specific point in a 3D space (basically a coordinate) with a specific name which is used to reference that specific spot within 0AD actors (structures' models, units, animals, even props) What are they used for? They're used to spawn an actor within another actor. Basically you load another model/unit/structure/prop of the game inside the model where the prop-point is. Examples: - In a structure, you can use a prop-point to have a fountain which is already in the game and place it within that structure. - In units, you can use prop-points to have different gear in different places like the head for helmets, in the hands for shields/weapons etc - In animals, you can use prop-points to spawn effects like dust in their feet when they're running or blood when they die. - In props, you can use it for randomization of the prop, like a helmet which can use different styles of feathers spawned at the prop-point location. Which are the benefits? There are many. Just saying that you can reference any existing prop/model in the game directly in a place within your model is quite powerful already. - Powerful recursive system - Easy set-up - Randomization capabilities - Memory saving (you don't need to store again the data of a model that is already in the game) How can I create them? In Blender3D: In blender these prop-points are made with "empties". An empty is just a point in space which stores the coordinates where it's located within the scene. No materials, no geometry, no lighting data. Just location and rotation. To create an empty in your model, just open the "add menu" with shift+space in the viewport and select "Empty" there will be a list with different empties types, but these are all the same, just different types of representations of it. Select your preferred type (the standard is "Plain Axes") and an empty will be created in the location of the 3D cursor. IMPORTANT NOTES: -It is obligatory that the name of these empties start with: "prop- " or "prop_ " -Examples: prop-fountain , prop-helmet, prop_flag-AND it is also obligatory that the empties are parented to the geometry of your model. To parent the empties to your model, (in object mode) select all your empties first, then your model and use the hotkey CTRL+P and they'll be parented to the geometry.-Finally, when exporting, select all your empties first, and you model last, and export as usual.How can I reference a prop-point inside an .xml actor? Props are defined in the .xml normally after the mesh has been defined. Here's an example of the persian stables, where the horses are propped by prop-points. Note that minheight and maxheight are OPTIONAL parameters used for anchoring the prop-point to the ground. Prop parameters: actor= the actor .xml that we want to spawn in that prop-point attachpoint= the name of the empty/prop-point that we created in the mesh WITHOUT the "prop-" or "prop_" prefix minheight/maxheight= These are optional parameters to determine the anchoring to the ground, the max and minimum height the prop will have when conforming to terrain. <?xml version="1.0" encoding="utf-8"?><actor version="1"> <castshadow/> <group> <variant frequency="100" name="Stables"> <mesh>structural/pers_stables.dae</mesh> <props> <prop actor="props/structures/decals/dirt_4x4.xml" attachpoint="root"/> <prop actor="props/structures/decals/celt_sb1_mud.xml" attachpoint="root"/> <prop actor="props/structures/persians/stable_horse_a.xml" attachpoint="horsea" minheight="-20" maxheight="1.7"/> <prop actor="props/structures/persians/stable_horse_b.xml" attachpoint="horseb" minheight="-20" maxheight="1.7"/> <prop actor="props/structures/persians/stable_horse_c.xml" attachpoint="horsec" minheight="-20" maxheight="1.7"/> </props> <textures> <texture file="structural/pers_struct.png" name="baseTex"/> [...]Prop-points in armatures When creating prop-points for meshes that are animated (in other words, when they have an armature/skeleton) the prop-points are created with bones. These bones doesn't need to have a vertexgroup in the mesh, but they're required to have a name with the prefix "prop-" or "prop_" just the same as when using empties.These bones also need to have a parent bone, which will inherit it's movement (location and rotation)Animating these bones would not have any effect when the animation is imported into the game.When defining prop-points on animated meshes, nothing changes. It is the same procedure as normal prop-points. Other useful tutorials in this forum: Import/export assets from Blender to 0AD and baking AOHow to export animations from Blender to 0ADLowpoly modelling tipsHow to create textures with Blender3DIt would be nice if Stan could post also some guidelines to create these prop-points called dummies in 3DSMAX in this thread too
-
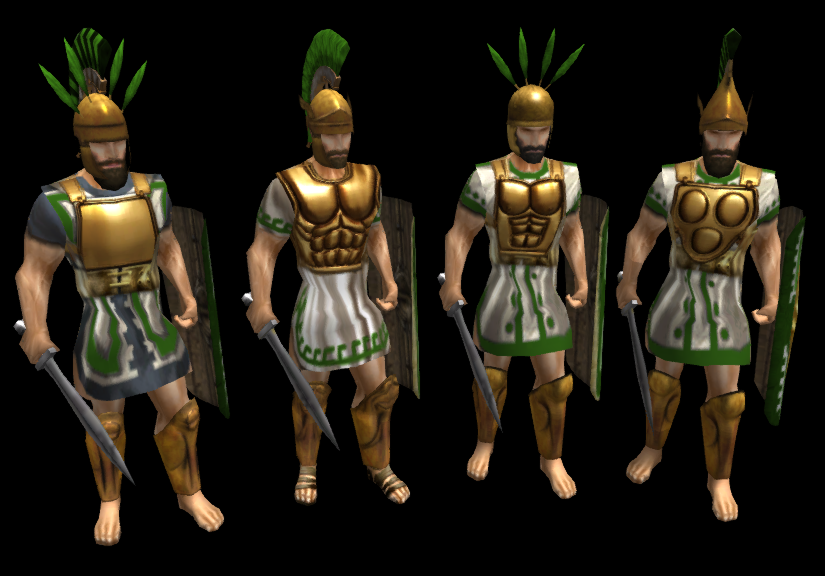
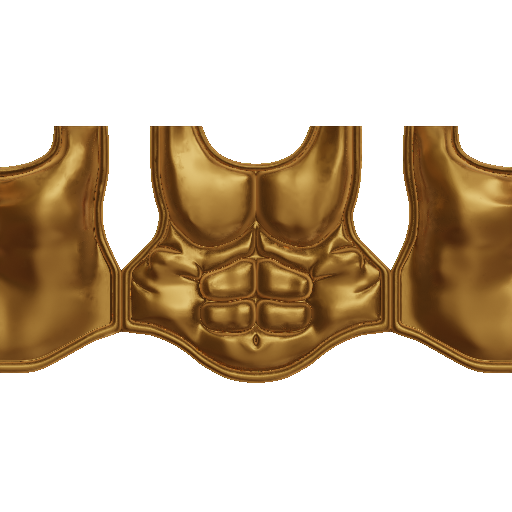
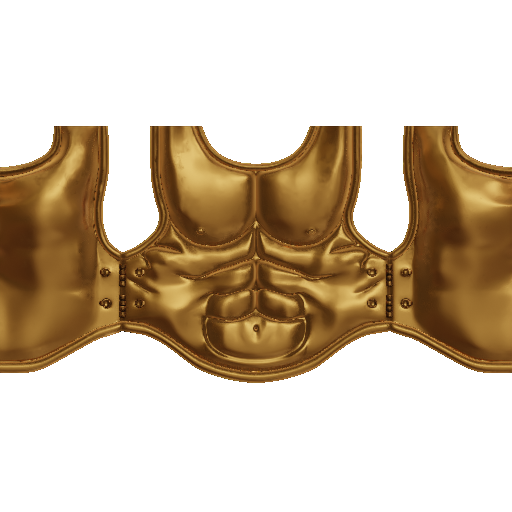
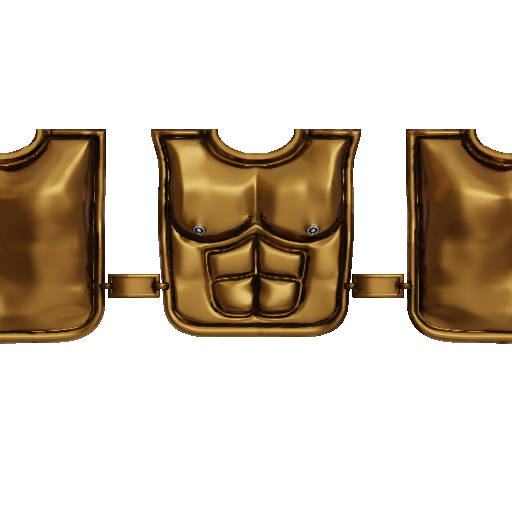
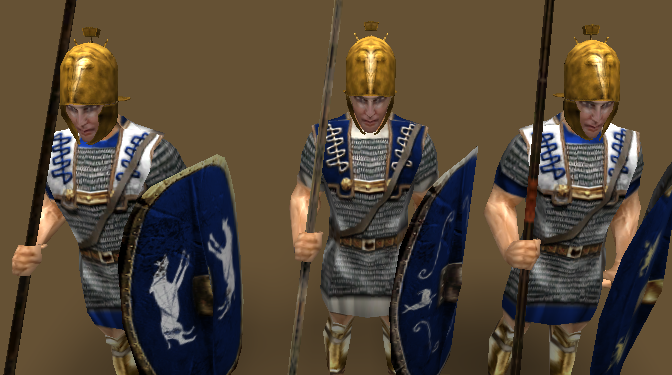
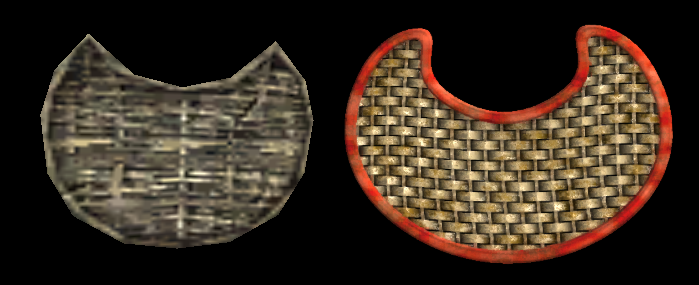
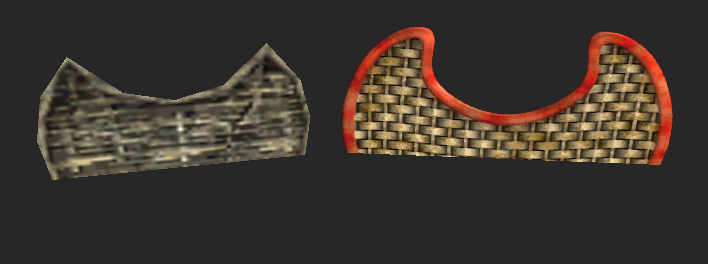
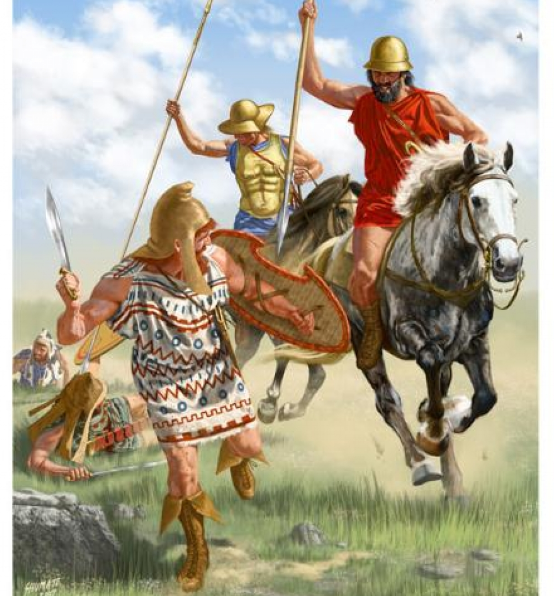
Hello all! i've made this topic to show some cuirasses i've done once when i had proper internet connection but didn't had a chance to post it. This are textures (cuirasses) done procedurally with blender. So we can have them with normal and specular maps included in any possible color whitout too much effort. Some are recreations of actual textures with specular, normal map. While others are new additions following a few references i could get. Everything was done using Blender and some meshes and procedural materials. Scratches could be included in case is needed but every texture ingame of cuirasses didn't had a single scratch so i guess not. In the current state, i could upload every texture seen in the screenshots if its necessary or if it has a good visual quality to be introduced, and post here the alpha layers. Texture Preview: Ingame screenshots:
- 33 replies
-
- 11
-

-

-
Perhaps backward normals or just plain old missing faces.
-
https://trac.wildfiregames.com/changeset/23903 This fix here corrects an error in the rock/ore gathering animation. It repositions the pickax into the correct hand, but now makes the pickax look too short when they are swinging it at the rock face. It would be nice for the pickax handle to be elongated (~25%) to regain that length.
-
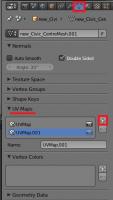
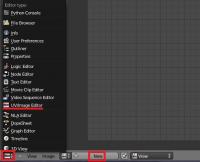
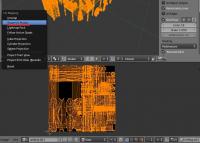
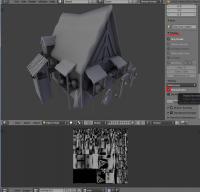
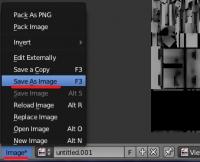
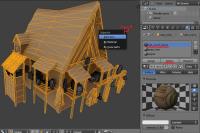
Introduction This is a guide covering how to import assets from the game to blender, create a second UV coordinates, bake the AO maps and export again. The game's buildings are usually divided in different .dae files (one per diffuse texture used) Usually, they consist in one main ".dae" file located in "meshes/structural" and one or more ".dae" children (props) that are attached to the main file, this "prop" daes are located in "meshes/props". (this is not always the case) In this example, we're going to bake the AO map for the celtic civil centre. 1.- Import the mesh into blender3D Inside blender, remove the starting cube, camera and point light. Go to file->import-> Collada (.dae) and select the .dae file to import. This building consists on three files: celt_civic3.dae, celt_civic3_props_1.dae and celt_civic3_props_new.dae If blender shows an error importing: *Note: The file may be imported rotated -90º in the X axis. To solve this, simply center the pivot point at the origin with SHIFT+C, select the cursor for your pivot point, select the asset and hit "R" for rotate, "X" for the axis, and then type "90" on the numpad and hit enter. Each time you import an asset, it is important that you create a new material with the name of the .dae or the texture that is going to use if you know it. This will let us separate the object again after we join all the meshes together. 2.- Set up a new UV coordinates. Select all your meshes and join them with CTRL+J Go to "object data" panel, scroll down to UV Maps menu and click the "+" sign to create a new UV coordinates. --Select the building, enter in edit mode with TAB. --Open a window with the UV/Image editor. Click in "new image" and "ok" in the pop-up menu. This creates a new 1024*1024 black image where we will bake the Ambient occlusion. --Now let's unwrap the model automatically. Go to object mode, select the model, use "CTRL+A" and select "apply scale" this will recalculate the scale of our building, so the polygons could be unwrapped nicely. --Enter "edit mode" with TAB. select all with "A" and hit "U" and select "Smart UV Project" in the pop-up menu. --In the next menu select the following settings: 3.- Baking the AO into our new generated black image. Preparing the AO settings: go to the "world" tab in the settings panel, mark the checkbox of Ambient occlusion and set it to "multiply". Scroll down to the "Gather" pannel and change the samples to something between 20-25 --We have the model ready to bake the AO map. Go to the render tab, scroll down to the "bake" panel (click on the "bake" pannel if it is closed) and use the following settings: --Then click "bake" and wait until the baking process is completed (this will take a while depending on your machine) --Once finished, you can hit "N" in the viewport to open a toolbar, go to the "display" menu, and click in the "texture solid" checkbox. This way you can see the AO map we have just generated on the model and check if it has been correctly generated. ------If you see black strange black faces where it shouldn't, the polygon normals are probably facing the wrong direction. This could be fixed selecting the black faces and then hit "W" and select in the pop-up menu "flip normals". ------If you find the problem where there are dotted black parts, it's probably because there are two or more polygons overlapping each other. You'll have to tweak the model sightly to fix this issue. --Once the bake is finished and you're happy with it, remember to save the image generated so it doesn't get lost. In the UV editor select Image->save image As... 4.- Separating the mesh by materials Now that we have our AO map, and the model has a second UV coordinates for the AO, we have to separate it's pieces again and export the parts one by one. To separate by materials, enter "edit mode". Make sure you don't have anything selected hitting "A" twice. Go to the materials tab, select the first material on the list, and click "select" button. This will select all the faces that have that material assigned. Once selected hit "P" and select "selection" in the pop-up menu. Repeat this step for each material (prop) you have imported. NOTE: Now that you only need to export the objects into .daes again, is a VERY NICE moment to save the .blend file in case the export process goes wrong. 5.- Exporting the meshes back to .dae files. This is the last part. You have to export the objects one by one. Make sure the following requirements are met: - There's nothing else on the scene except the mesh you want to export (even hid objects breaks the export) - You have to remove every material applied on the mesh. - There are no lights, armatures or other objects in the scene. - You have your object selected. Then you simply go to File->export-> Collada (.dae) and select the file to export or overwrite the old one. After that, reload the .blend file and repeat this step with the rest of the objects (or hit CTRL+Z a few times until you get back the other meshes and repeat the process with the next one) I hope it's somewhat understandable and useful .
-
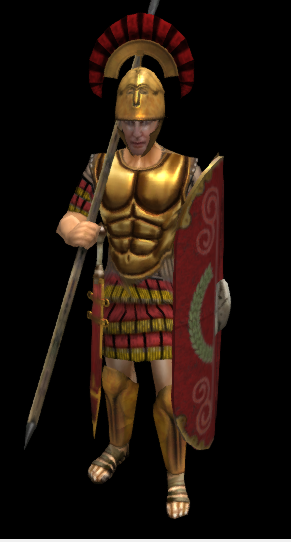
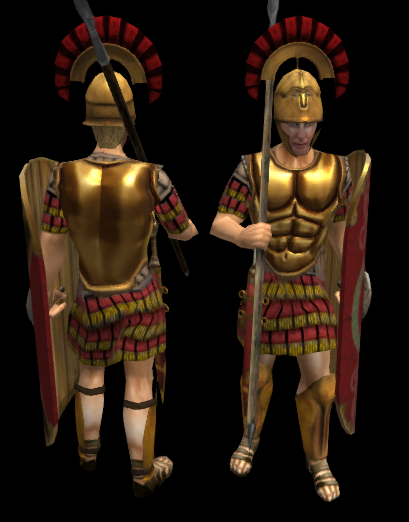
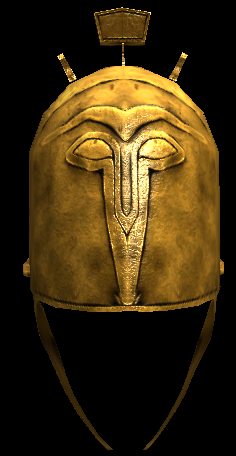
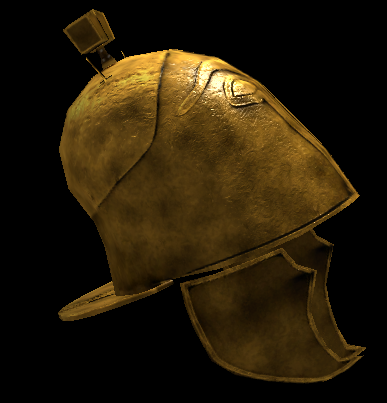
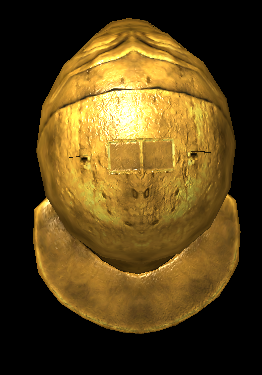
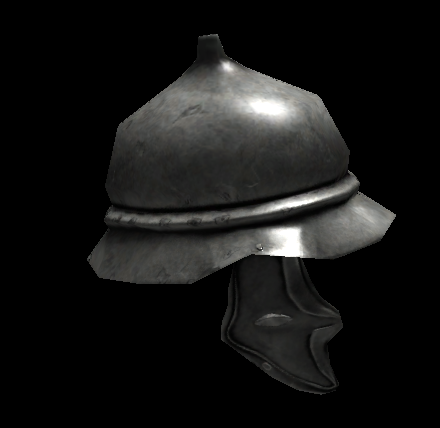
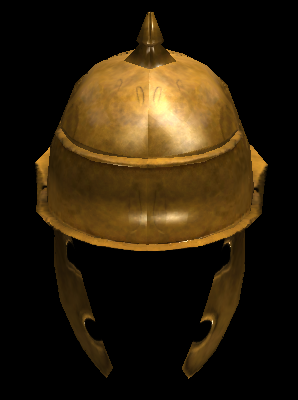
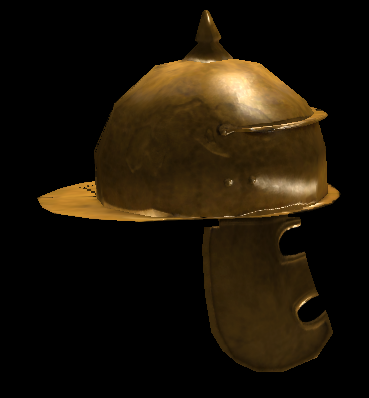
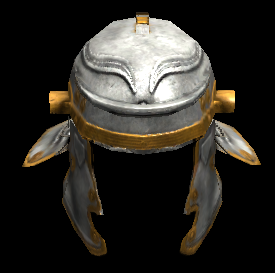
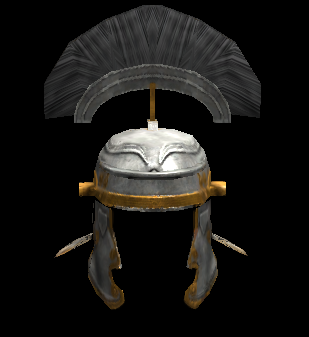
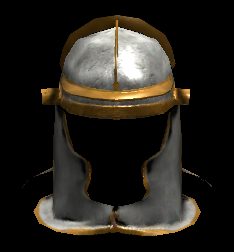
Another topic for helmets, for now i have this: From other topics i have this: The first helmet its recorded but says its damaged because my secondary hard drive is damaged so i used VLC to fix the video now its only visible through that program, i'll see if YouTube could handle the video later.rome_helmets.7z
-
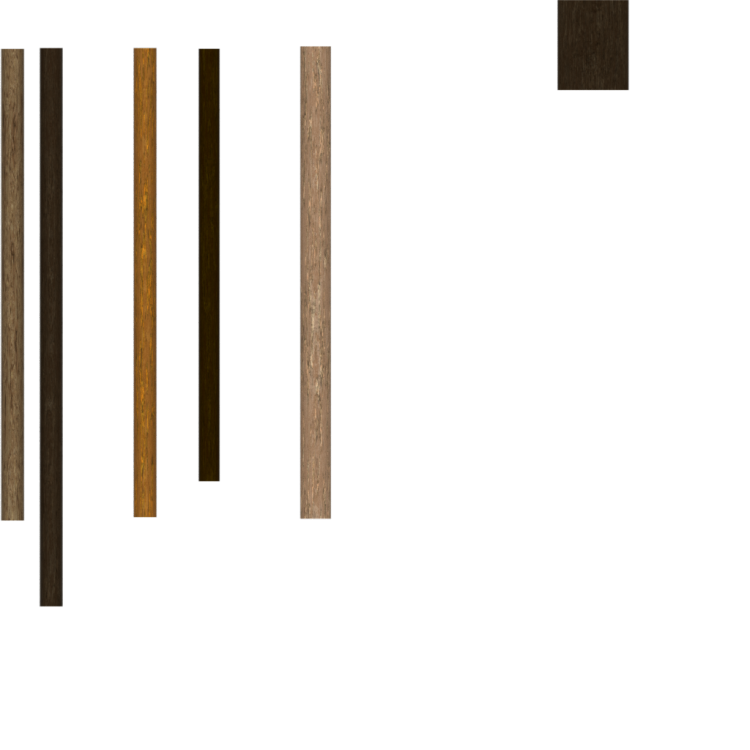
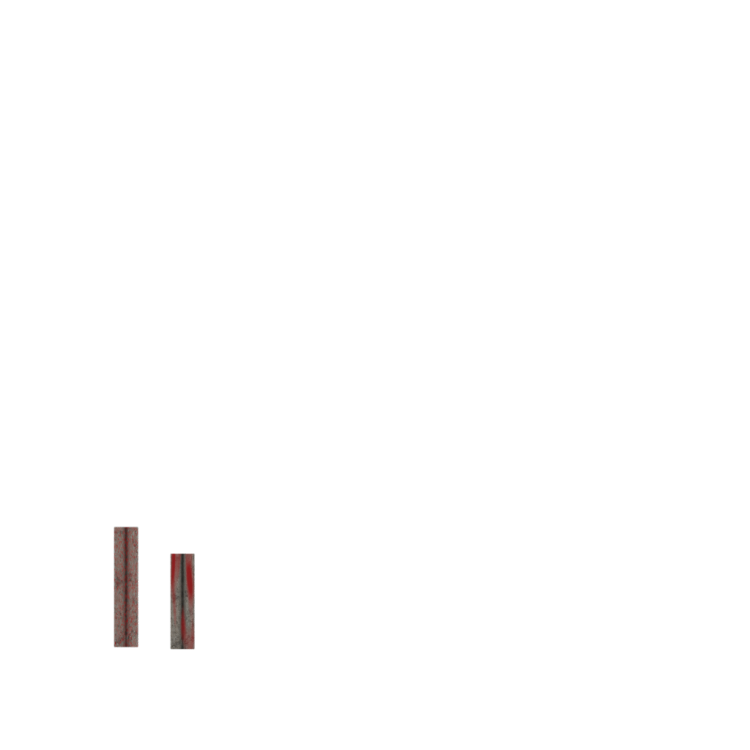
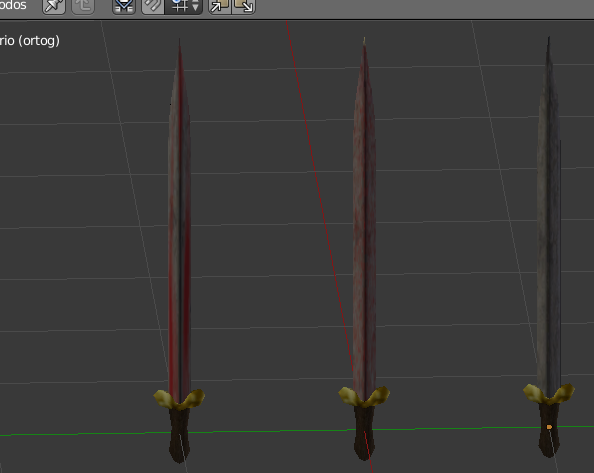
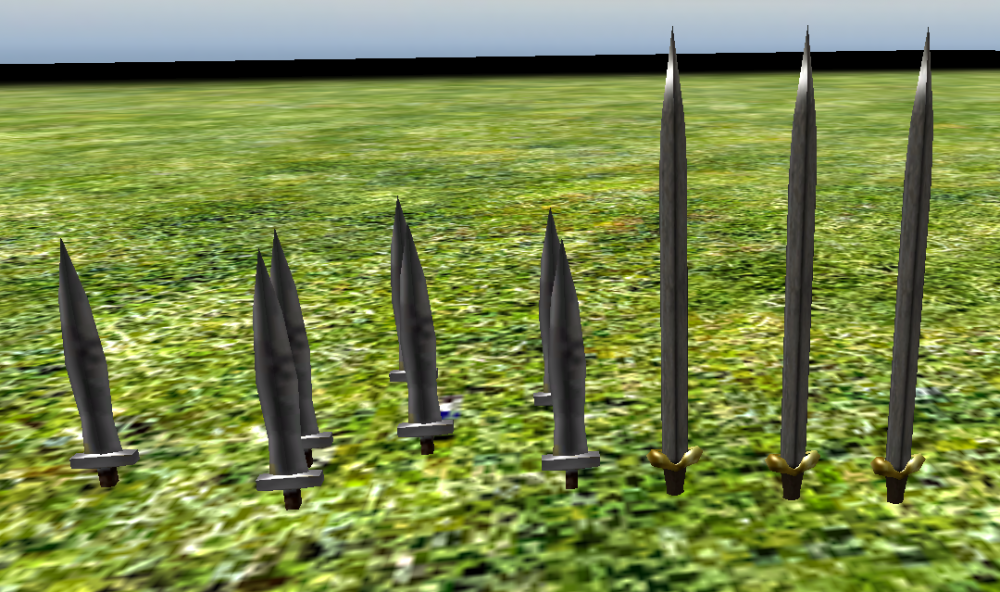
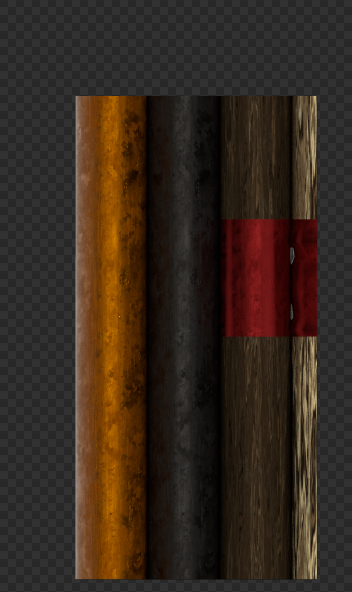
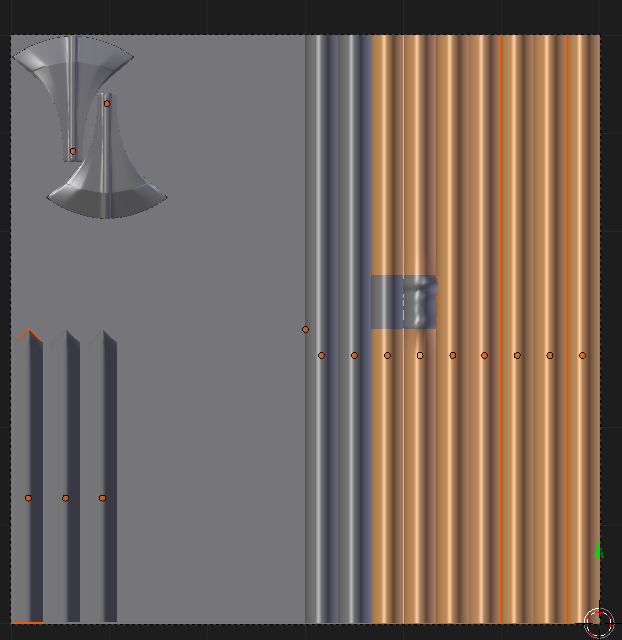
Today i was making the celtic unit props update, so when we talk about the spears i realized that everything is getting updated but the Weapons texture is still outdate and very low resolution wich make some weapons like swords like rubber toys so here are a few testing (Specially the bloodie weapons). Wildfire Art department: @LordGood @stanislas69 @wackyserious First textures were baked following the prop.weap.dds uv but i will change that to a better space usage and less repeated staffs or blades (Maybe include Aged weapons) Here the testings on celt sword: Comparisson with the spartan sword: Maybe with this merge the gladius posted in 2017. Spear test: A little preview of 2k textures because i don't want to burn my pc yet. Probably new uv usage: Right side: Poles Middle: Swords Handles Or ornamentations (Specially if possible the gladius weapon handle) Left Side: Blades (Rusted, Blood Half, Bloodie, Iron, Gold?) @wowgetoffyourcellphone any weapon/blade/shape you have in mind before filling the space ?
-
- 33 replies
-
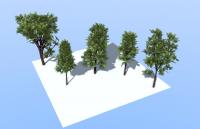
Hello! I'm back with a quick tutorial on how to make lowpoly trees taking advantage of Blender's 3D add-on "sapling tree generator" in less than 10 minutes! Here's a video tutorial from BlenderGuru with more in-depth information about how sapling add-on works: http://www.blenderguru.com/tutorials/how-to-make-a-christmas-tree/#
- 28 replies
-
- 10
-

-
While I was modding my FCI mod I decided to make one of the minor factions look more like they actually looked in the gaming clan war the mod was based off of, I was trying to edit the 3d model of another unit but found I cannot as they are all in pmd files, I do not want to have to download the entire svn version of 0ad (it is massive in file size) to get the raw pmd files. How would I either convert the pmd files or get the raw dae files for the default 3d models ingame?
-
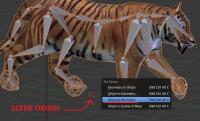
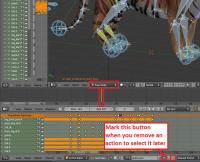
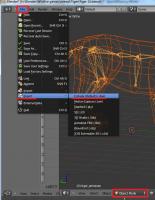
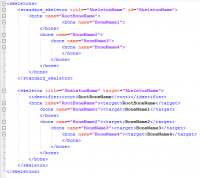
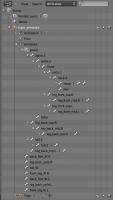
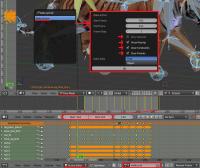
An updated version of this guide is available on the Wiki. Introduction This is a guide covering how to export and set up animation files from Blender3D into 0AD as well as some tips and general guidelines for get the animations working in 0AD. The Blender3D version used for this guide is 2.65a newer versions might have problems with the Collada exporter. Last blender version (2.69) works fine for exporting animations. Animations have three main requeriments in order to get them working in 0AD. These are: 1.- The file with the mesh and armature (COLLADA file) 2.- The file(s) with the different animations of the armature (COLLADA file(s)) 3.- The file XML defining the armature (called skeleton in 0AD) with its bones names and hierarchy. The last step is to specify the animations that the unit will have available on its different states in the XML actor file of the unit (i.e. Walk, run, death, idle...) Rig setup: When setting up the rig to animate your mesh, there are a lot of options to configure it to make the animator's life easier and achieve good results with less effort. Sadly, there are some limitations in how much animation and skeleton data the COLLADA format can export. Here are some points to keep in mind when configuring your rig to make animations for 0AD: -Avoid disabling "inherit rotation" in bones. While it's a very nice blender feature, when exporting your animation the bones that have their inherit rotation checkbox disabled end up inheriting their parent's rotation, plus the extra rotation you add in the animation resulting in weird and undesired behaviours. There's a tricky workaround for this, which is creating a helper bone which the bone that you don't want to rotate will copy its rotation. -Make sure the rig have the correct scale, and has its scale applied before start animating. Resizing your rig and/or mesh and applying its new scale before baking the animation may end up messing the animations you may already have, specially if you have any IK (Inverse Kinematics) setup in your rig. Here's a workaround that may or may not work: -Scale to the correct size the mesh+armature file and re-export it. -Export the baked animation(s) to dae with their incorrect size, but correct animation. -Import them back into blender, scale them correctly, and export them back without applying the scale one by one. -Mark the "Clear Constraints" checkbox when baking an action if you use any IK or constraint. Specially if you use constraints like "copy rotation" and "copy location". Once the action is baked without "Clear Constraints", it may appear in blender that it worked fine, but it will not when exported to collada format. -Save your .blend file before exporting. You will lose your rig constraints when baking the animation, plus importing collada animation files back to blender is not working propperly to date (11/24/2013). Because of this, if you want to tweak an animation, or use the same skeleton/rig to create a new one, the only way to do it right now is using the .blend file. In this guilde, we're going to set up the animations for a wild animal unit "Tiger" that will be controlled by the IA "Gaia". 1.- Export the .DAE file with the armature In this step, we're going to use Blender3D to create the first main file needed for the unit's animation. This file tells the engine the relationship between the bones and the mesh. Before this step, you should create in Blender3D the armature (skeleton from now on), and the mesh that is going to use it, apply the skeleton to the mesh and tweak the vertex wheights that each bone will move (this is not covered in this tutorial). Before exporting the mesh and the armature, you should make sure that both objects are centered in the origin point of the scene and both object's origin points locations match. To move the object's origin points to the scene origin point (coordinates 0,0,0) first use "SHIFT+C" this will make your 3D cursor to center into the scene origin, then select the mesh and the skeleton with rightclick and shift rightclick and use "CTRL+ALT+SHIFT+C", in the pop-up menu select "Origin to 3D cursor". Now make sure you remove from the "action editor" any action currently used by the skeleton (if any) and move the timeline back to the first frame if it isn't there. [1b – Optional image removing the action editor's action] Also make sure your skeleton is in the default pose (also called resting pose). To do this, select the skeleton, use "CTRL+TAB" to enter pose mode, hit "A" to select all bones and use "ALT+G", "ALT+R" and "ALT+S" to reset the bone's position, rotation and scale, this will put the armature in it's resting pose. Now we're ready to export the mesh and skeleton. Make sure there's nothing else in the blender scene other than the armature and mesh (remove lights, other meshes, helpers/empties...). In "Object Mode" select the mesh first with rightclick and then the armature with "shift+rightclick" (the order is important) then go to the menu in the top of the screen and use "File --> export -- > Collada (Default) (.dae)" Navigate to the folder where you want the file to be created, name the file and hit enter or click Export. *Note: These "mesh+armature" files are stored in \0AD\binaries\data\mods\public\art\meshes\skeletal\ 2.- Export the .DAE file animations In Blender3D, you have to use the "action editor" to create the different actions (or animations) that you want to export into 0AD to use them. These actions are usually: walk, run, idle, attack, and death, but you can make variations of each one or make more types of actions if desired. This tutorial do not cover how to animate in Blender3D but I'll give you links to animation tutorials and tips for the animations at the end of it. 2.1- Bake the action to keyframes In 3D animation software, you animate inserting keyframes or "posing" your skeleton along a timeline, and then the software computes the space between keyframes with intermediate poses which makes the movement motion. The closer one keyframed pose is to another, the quicker the motion will be from one pose to another, and the further the keyframed pose is to another, the slower the motion will be. To make an animation file readable for 0AD, you have to bake the action into keyframes in Blender. This is the process of creating a keyframe for each frame if a bone has changed its position from the previous frame. This is done automatically by Blender3D when baking the action. To bake an action into keyframes, first select the action to bake in the action editor, then adjust the "start frame" and "end frame" on the timeline to match the action length. After that, select the skeleton, enter in pose mode with "CTRL+TAB" and select all bones with "A". Once you have selected all bones, move the mouse cursor into the 3D viewport, hit "space" to bring the search option menu and type "bake action" then select "Bake Action" in the menu. A menu for the "Bake Action" option will emerge, uncheck "Only Selected" checkbox, !and check "Clear Constraints" checkbox (specially if you use IK and/or constraints) and click OK This will automatically insert keyframes between the poses you used to animate. 2.2- Export the animation .DAE file This is the same process as the first point. This will create the file containing the actual animation that will be played in 0AD's engine. Switch from pose mode to edit mode with "CTRL+TAB" select the mesh first with rightclick, then the armature with shift+rightclick, go to "File --> export -- > Collada (Default) (.dae)" Navigate to the folder where you want the file to be created, name the file and hit enter or click Export. *Note: These animation files are stored in \0AD\binaries\data\mods\public\art\animation\"unit type"\ **Note2!!: Units with different meshes but same skeletons can share these animation files and use it even if the animation files have been exported with different meshes. However, each unit needs to have its own "mesh+skeleton" .dae file that we have created in the first step. Repeat 2.1 and 2.2 for each animation of the unit and name them accordingly (i.e. tiger_walk, tiger_death, tiger_idle_01, etc...) 3.- Create the XML file defining the skeleton 0AD needs a .XML file to define the skeleton's name, bone hierarchy and bones' names. These skeleton .XML files are located in "\0AD\binaries\data\mods\public\art\skeletons\" You'll need one skeleton .XML file for each different skeleton you want to use in 0AD. The easiest way to set up one, is to open an existing file and modify it with the information of the new skeleton you want to add and save it as a new file. You can open .XML files with any text editor software. I recommend notepad++ to do so (personal preference). This is an example of the syntax that you need to use to setup the file correctly: Note how each child bone is defined under its parent bone line before closing the parent's bone definition with "</bone>" The RootBone is the bone in the armature that controls every other bone in it. Note: If you have any bone name in the skeleton containing a dot "." you have to use an underscore "_" in this file instead when writing the bone's name. To know the hierarchy of your skeleton, you can use the outliner window in Blender3D and expand the armature contents. There you can see which is your root bone, and the childs of each one of them. Once you have completed setting up the file, use "save as" and save the .xml file with an appropiate name in the folder specified at the beginning of this section. -Specifiying the animations for the unit in its actor Every unit (or entity) in 0AD has it's own .XML file which contains information that tells the engine different properties of that entity. These files are called actors. Some properties that contains these actor files are: -Mesh: the mesh that will be displayed in the engine for that entity or unit. -Prop(s): Actors can be used within other actors. They're called props. You need an empty/helper/bone with its name starting with "prop-" to specify where you want the actor to be shown. -Variants : These are possible variants of a unit (used for unit diversity) as well as states that a unit may have. -Texture(s): The texture or textures that the mesh will use. -Animation(s): Animations that the unit or entity can use and the variant/state associated with that animation. Animations in the actor files are normally specified just before the <mesh> tag in the following format: The <animation> tags in this example include the location and filename of the animation (created in section 2), the name of the variant/state that will use that animation specified by "name=", and the speed that the animation will play. The animation speed gives you control over the speed that the animation will play independiently of the speed it had when exported from Blender3D. Loading and hiding props during an animation: There's a special case for animations where you can load prop's actors and make them dissapear during the animation. The first animation specified in the example with the variant name "Build" uses this case. You specify with fractional numbers when the prop will show up with "load=" and when it will dissapear with "event=" during the animation. The number "0" means the start of the animation and "1" the end of it. The variants are normally specified after the textures in the actors. Here's the variant definition of "Build" from the previous example: In this example the actor "wood_1_a.xml" is going to be loaded at 25% of the duration of the build animation, and it will dissapear at 75%. You specify where the prop actor will be placed with "attachpoint=" . The attachpoint value needs to be the name of a bone, but it is mandatory that the bone name starts with "prop-". When you specify the prop-bone name you ommit the "prop-" part of the name, but if it's declared in a variant that is going to use "load=" and "event=" you have to start the name of the prop-bone with "loaded-" (in this example, the bone's where the actor is going to appear is "prop-beam". Note*: For static meshes without skeleton, you can use empties parented to the mesh with the name prefix of "prop-". You can later use this empty location to spawn an actor on it's place when defining the props between the <prop> tags right after the <mesh> definition in the actor file. 2015 Edit: - Blender collada export now works better and there's no need to bake the animations even if using IK setups. This reduces considerably the size of the animation collada file. - In order to get clean loops in pyrogenesis, you have to export including the first and last keyframe of the loop. In theory, it is the same keyframe and should be avoided, but the engine needs this duplicated keyframe. In resume: export the first and last keyframe in the animation loop to get a clean looping animation. - Blender now supports "clean channels" option when selecting keyframe channels and deletes the keyframes that do not add anything new to the animation. This reduces the size of the animation file without altering the animation at all. Just select all keyframes in the action editor, hit "X" and select "clean channels" Rigging Tutorials: http://vimeo.com/30073532 http://vimeo.com/30072564 http://vimeo.com/30078317 Animation Tutorials: http://www.cgmasters.net/free-tutorials/epic-looping-idles/ http://cgcookie.com/blender/2011/08/22/animating-a-character-picking-up-an-object/ Import/export 0AD assets and AO baking: http://www.wildfiregames.com/forum/index.php?showtopic=17542&p=273078
-
Hello I thought it could be interesting for 3D artists and future 0AD contributors to get advices, tips, good links, interesting tutorials, etc. So why not sharing them here?
-
Hello. I have just discovered a nice blender add-on. I think it could be useful to create human models. Blenderartists forum: https://blenderartists.org/forum/showthread.php?391401-Addon-Manuel-Bastioni-Lab-turns-Blender-in-a-laboratory-for-3d-humanoids-creation Official website: http://www.manuelbastioni.com/index.php
-
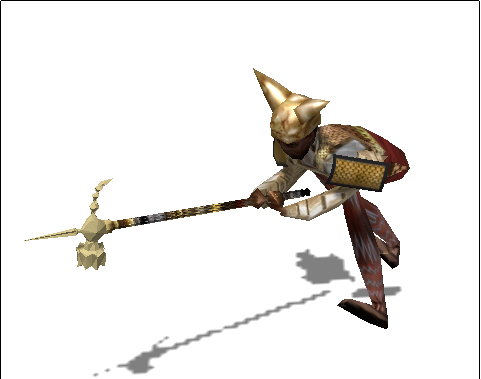
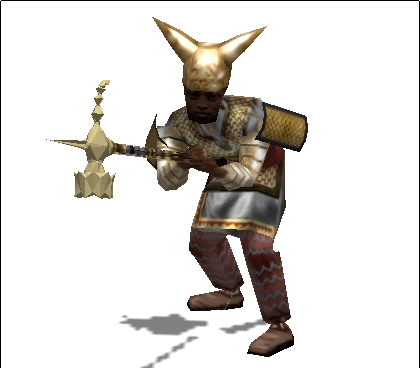
I've successfully made some props in blender and exported to 0ad but I'm running into trouble with skeletal meshes. First I import a collada file (in this case it's "mods/public/art/meshes/skeletalf_tights.dae", which i renamed "humantest.dae" and it works fine). I check "import units" when I import. Then I export. I have tried checking different boxes, but I always get very grotesque deformities including backwards props. mostly the guy has extremely stretched out bones and sometime inverted joints (i can upload pictures). The animations still work. I'm sure this is a simple fix but I've read the tutorials and examined the .dae files and haven't yet noticed the thing that's causing the deformities. What am I missing? I appreciate any advice or resources y'all can offer. thanks Sean EDIT sorry if this belongs in another section. you may move it if thats better.
-
I recently have a trouble modding 0AD, i'm using Blender 2.69, but i can't open collada files, i start the plugin for collada edition for blender that we can find on: file > user preferences > plugins but whet i try edit a collada file i can't do it!

.thumb.png.ce58cea22940c255f5b0a735d5abee36.png)
