-
Posts
11.108 -
Joined
-
Last visited
-
Days Won
566
Everything posted by wowgetoffyourcellphone
-
I thought about the claw as a buildable structure or building upgrade, but it's difficult to imagine how it would work in the game environment. Ships in the game don't need to come close to the shore to be effective as in real life, so they would rarely come within range of such a "melee" device. It could be a technology (researched at the Academy) to add an attack bonus vs. ships to the Syracusan towers. A special tech that improves both farming and ship health maybe? Makes it unique in that way. Could make "Water Screw" at the Farmstead a prerequisite. Archimedes Screw was simply a refinement of earlier such farming tools. The Ballistics tech could be reworked here. For most other civs, Ballistics unlocks the ranged siege techs at the Siege Arsenal. For the Macedonians their ranged siege techs are unlocked automatically without the need for Ballistics. I've done the same for the Syracusans already, so perhaps "Ballistics" can be used as an additional special tech at the Academy.
-
Are we really banning "wtf"?
-
hmmm.... Ports vs. Shipyards. Sounds like a popular 0 A.D. mod.
-
-

Chinese Greek battering rams.
wowgetoffyourcellphone replied to Akira Kurosawa's topic in Art Development
eeeeyes. I'm just musing on how we can make a new ram model look Chinese, by reusing some artistic motifs. -
LODs are great and all, but there' absolutely no need for the "high quality" version of that goat for an RTS.
-

Athenian Stone Tower has minor graphics error
wowgetoffyourcellphone replied to GumballForAPenny's topic in Bug reports
It would have been alright to add to Trac, honestly. Probably better to make it a part of a larger assets bug hunt though. For instance, the main door on the generic Greek fortress has a really odd graphical shadow bug, which is probably a random back face that needs deleted. -
We can leverage the "Upgrading" feature that the Han use some more by making the Han Academy an "Upgrade" for Barracks, instead of a standalone structure to build. Again, what that does is leverage the existing penchant given to the Han civ of upgrading individual structures to better versions of themselves.
-

Feature request for training ships
wowgetoffyourcellphone replied to Player of 0AD's topic in Gameplay Discussion
@Freagarach -
Spitballing here, I was thinking the choice of political systems could go like this: Democracy + Bonus in Citizen health and train time + Hoplites trained at the Advanced rank from the beginning + Champion is a Hoplite-class infantryman + Hero is the Demagogue unit, whose aura grants more capture points (i.e., Loyalty) to capturable units and buildings - Penalty in Technology cost Oligarchy + Bonus in Cavalry health and speed + Bonus in Farming income + "Champion" is an Elite Cavalryman + Hero is the Aristocrat unit, whose aura grants stronger resource gathering to nearby gatherers - Penalty in Infantry speed Tyranny + Additional Mercenaries unlocked at the barracks/range/stable + Additional Technology for Coin income, "Open Markets" + Champion is a Heavy Swordsman "Tyrant's Guardsman", who costs only Coin (most champions usually cost Food and Coin) + Hero is the Tyrant unit, whose aura grants stronger attack and capturing to nearby champions and mercenaries - Penalty in Citizen health and Slave loyalty Any thoughts?
-

Chinese Greek battering rams.
wowgetoffyourcellphone replied to Akira Kurosawa's topic in Art Development
You have a point. There needs to be a "Chinese" styled model created. Can just use the Han structural texture and add the "Chinese" roofline to the top of the ram. And of course the Greek shields can be done away with. -
-

Athenian Stone Tower has minor graphics error
wowgetoffyourcellphone replied to GumballForAPenny's topic in Bug reports
Our deepest apologies for this affront. I will get to work on this straight away. -
-
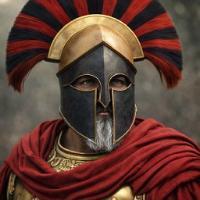
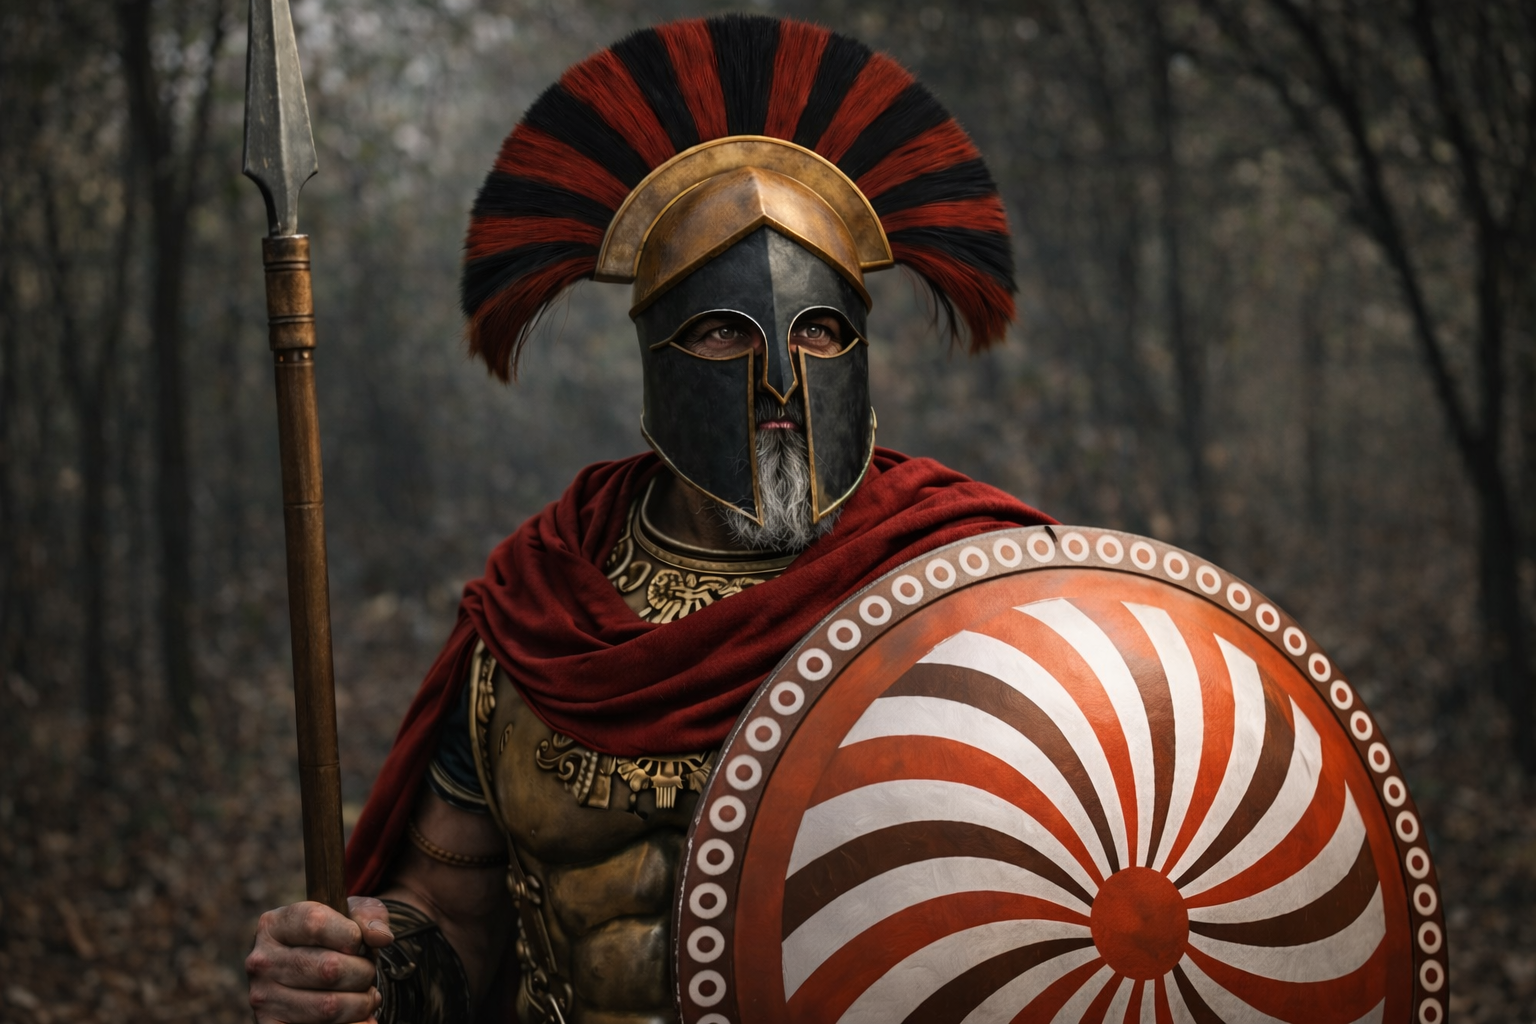
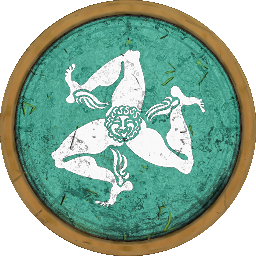
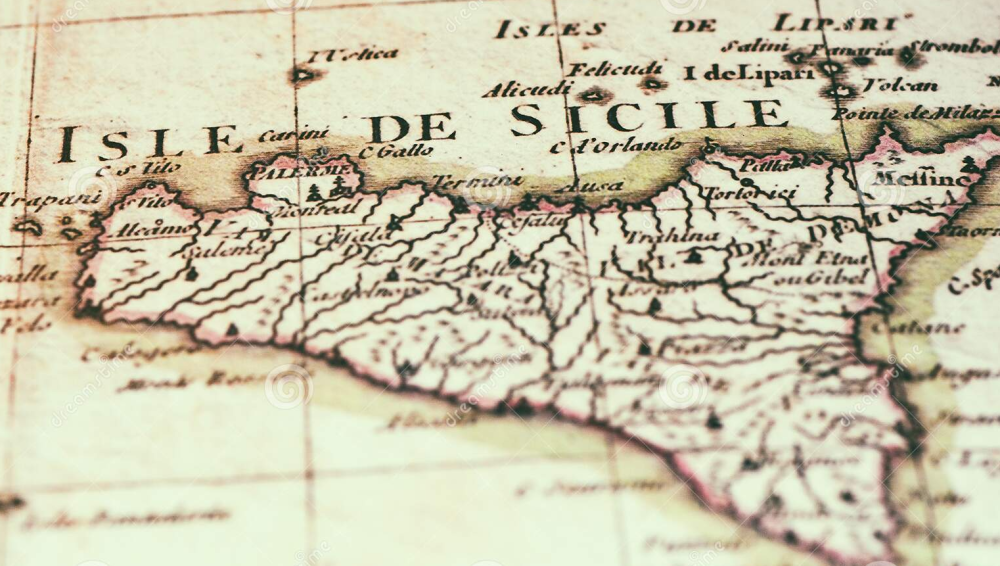
The Syracusans are a Greek faction known for their innovation, cultural contributions, and energetic history. They tussled with the Carthaginians, Athenians, and Romans for control of Sicily. For a time, Syracuse was one of the largest, most powerful Greek states in the Mediterranean basin. The famous mathematician Archimedes was a son of Syracuse and helped his city with many inventions and mathematical innovations. In the game, they are a "Greek City-States" faction (Hoplite-focused army, a buildable Stoa, etc.), but with a "Successor States" access to the Library ("Archimedean Academy"), Siege Weapons, and Quinquereme warship. Also, instead of suite of possible Heroes at the start of the match, the player is given the choice of which political system to follow, Aristocracy, Democracy, or Tyranny, with each choice unlocking its own champions, heroes, and technologies.
-
The Syracusans The Syracusans are a Greek faction known for their innovation, cultural contributions, and energetic history. They tussled with the Carthaginians, Athenians, and Romans for control of Sicily. For a time, Syracuse was one of the largest, most powerful Greek states in the Mediterranean basin. The famous mathematician Archimedes was a son of Syracuse and helped his city with many inventions and mathematical innovations. In the game, they are a "Greek City-States" faction (Hoplite-focused army, a buildable Stoa, etc.), but with a "Successor States" access to the Library ("Archimedean Academy"), Siege Weapons, and Quinquereme warship.
-
That one pops up at the beginning of a match.
-
ERROR: JavaScript error: simulation/components/GuiInterface.js line 2131 Invalid GuiInterface Call name "IsTechnologyResearched" GuiInterface.prototype.ScriptCall@simulation/components/GuiInterface.js:2131:8 initCivChoicesDialog@gui/session/civ_choices.js:16:40 init@gui/session/session_DE.js:5:2 reallyStartGame@gui/loading/loading.js:22:9 ERROR: Error calling component script function ScriptCall
-

Civ: Imperial Romans (Principates)
wowgetoffyourcellphone replied to wowgetoffyourcellphone's topic in Delenda Est


