Enrique
-
Posts
2.338 -
Joined
-
Last visited
-
Days Won
96
Everything posted by Enrique
-
Awesome! -progressive darkening of the water based on depth! -foam! -shadows on the water! -waves! Really nice Wraitii!!! :D The processing cost is not very high, right?
-
Specularity is shiny highlights due to the light source reflection. (those are my words, not official xD) You can have black and white colors texture that determines which parts of the object should have those highlights with white and which parts shouldn't with black. The reliefs you are referring are made with normal maps which is a method to fake reliefs without actual gemetry (I think it was used in doom 3 for the first time IIRC) This normal mapping effect can be enhaced with parallax mapping. Which makes the relief effect to "pop" out even more and self-shadowing (depending on the parallax method) This parallax mapping in 0AD uses a black and white image on the alpha layer of the normal map texture where black is an "inset" and white "pops" out. All this effects are already implemented in 0 A.D. thanks to Myconid
-
Looks nice indeed. II agree with Michael the back looks a little too arched, and the tights could be a little thicker. The proportions look very good
-
@Mythos: Whoa, you nailed the screenshot man I see spec on the elephant? and an ashoka's standalone pillar? @Ludo that grass is an experimental effect that Myconid did, and the female shoulders I think is because they're the female citizens meshes, not sure though.
-
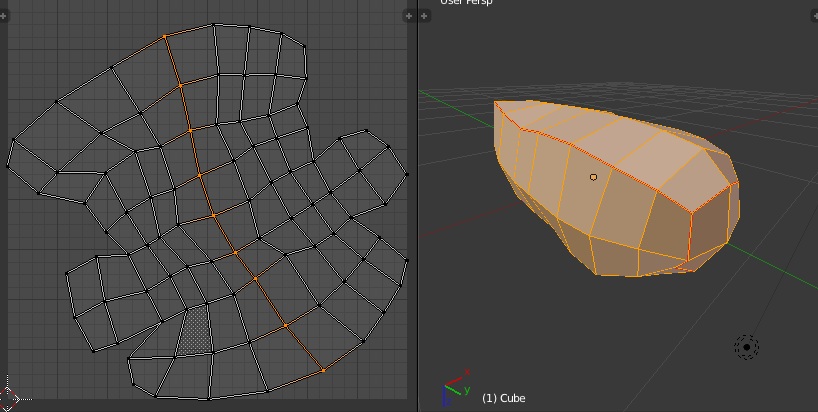
I need to add props and finishing touches, I have some free time this (european) afternoon, I'll try to commit the fortress and second Mauryan texture
-
Hi Josh, nice design . My suggestion is to think a little more on how the roof is placed on that four wood pillars. Now it looks a little fake, like there isn't any kind of reinforcement of the structure and I don't think it would be possible in real life. It also don't need to be refined, it's a place to feed the animals, so "not perfect" structure is more likely to feel more realistic. Maybe addining vertical or horizontal uneven planks "attached" to the wood pilars like making walls around the arched structure would give it a more realistic look. What do you think?
-
3D Artist/Texture Artist - Alevyr
Enrique replied to Alevyr's topic in Applications and Contributions
Yes, no problem about that. I think some team members have Max experience so they'll be able to help if you have any problems, and of course feel free to ask any question you may have -
3D Artist/Texture Artist - Alevyr
Enrique replied to Alevyr's topic in Applications and Contributions
Hello Alevyr! Welcome to the forums! Thank you for your application. What would you like to model in first place? I'd recommend you to start with a small/not very complex asset as a test to get used to the workflow and see how the importing/exporting works. You can choose from organic 3D assets such as rocks/trees etc or any eyecandy or structure asset. The current structures needed are for the Mauryan faction, but the problem is the lack of architectural references from that era, but if you are good at drawing and you prefer to throw some designs/sketches of some buildings you are welcome to do so! Also to get started I recommend you a quick read of the Artist Design document. It's not totally up to date, like polygon counts and such, but you may find some useful information http://trac.wildfire...tDesignDocument By the way, which 3D software do you use? I couldn't guess from your work examples (I'm just curious, you can work on the 3D program you want if you are able to import your creations as .DAE files) -
Sure let's get our hands dirty
-
Hello AlxCruel! Welcome to the forums! Thanks for your application. You say you have experience animating, animation skills on 0 A.D. are highly appreciated, Do you have any work examples of your animation skills? You have there nice models also, I liked the chariots . Would you like to start modelling a chariot as a skill test for the new Mauryan faction? This way you can get used to the workflow, and learn how to import and export models into the game. Here are some references if you are interested: http://img152.imageshack.us/img152/3520/dc13a20a40.jpg http://s48.radikal.ru/i122/1003/8f/b509898ac329.jpg http://i5.photobucket.com/albums/y189/mitchtanz/indiancharty.jpg http://img692.imageshack.us/img692/7979/chariotrt.jpg If you prefer to model other 3D assets like gaia/flora etc, there are threads around about biomes to get started. Just tell me and I'll link them. Also I recommend you a quick read of the Artists Design Document. There are things outdated like the polygon counts etc, but there are other things that you may find interesting: http://trac.wildfiregames.com/wiki/ArtDesignDocument
-
There's a proverb in spanish that says "Con paciencia y saliva, el elefante se la metió a la hormiga" "with patience and saliva, the elephant stuck it to the ant" xD I don't mind to spend some time on UV mapping if I get my hands on a new mesh, but modeling lowpoly humanoids is not my expertise
-
Yes and no A map designer would find useful to have different rocks formations to choose, and having some formations (not all) with one or two bushes don't seem to be a huge problem I think having some formations with bushes/vegetation with their corresponding biome on the name may be useful. Don't forget that even in woods you can find dry bushes Don't worry too much if you are making formations with higher polycount than the "old" rocks. Just don't go crazy with them. Take a look to the newest rock formations that Gen.Kenobi made. I'm sure they'll have closer triangle count to yours Nice. Sand rocks formations may turn into snowy formations with some texture changes, so I think they will be useful to play with them Looking forward for more of your creations
-
Animator application - Marc Hodgson (Khopesh)
Enrique replied to Khopesh's topic in Applications and Contributions
Hello Marc! welcome to the forums! Nice animations you have there As you have read, animators are really welcome I'm not the most experienced member on animation but I can point you to some documents which may be a little outdated, but you may found some useful information also. Here is the art design document: http://trac.wildfire...tDesignDocument Here's the animation/sound sync document: http://trac.wildfire...i/AnimationSync As I said, there may have some parts outdated since they're really old, but you can get some info about how it was done. Regarding the collada (.dae) format, you may try to import any of the currently used animations in-game to see if you can open them in Maya. You can find the animations for the different unit types/rigs here: http://svn.wildfireg.../art/animation/ As for the animations needed, that depends if we are going to replace unit meshes/rigs for new ones. (which may be easier for you as you may do the rig customized for your animation needs) We are currently discussing this on the animation pipeline thread that Gen.Kenobi linked you above. We'll have all set up when December arrives -
I don't mind to spend some time getting the animation exporting thing working, clear and documented. I always thought that is one of the high priorities that the art dept should take care. The problem is that I have a very basic idea of the needs and restrictions of the engine for the rig to work, like the number of bones allowed, bone naming, hierarchy.... Also discarding all the current animations sounds like a lot of work to redone with so little manpower on the animation area... and some animations sure needs revamp, but others look great to me. Some questions if someone knows the answer: -Do we have a revamped unit mesh? -Did someone get any animation done in Blender currently working in-game? -If we are aiming for a new unit mesh and rig revamp, that means that the rig could have more bones/different bone hierarchy and naming?
-
You didn't posted them yet
-
Those are track bones. The knees will point to them. With the Inverse Kinematics solution, if you move the feet, the knee will bend depending on where the feet are placed. These knee IK bones gives you control on how the legs are bending.
-
New to 0 A.D. and the forums
Enrique replied to willneu97's topic in Introductions & Off-Topic Discussion
Hello Will! Welcome to the forums. Thanks for your kind words about the game. What's the things you liked the most and what was difficult/didn't like as a new player? Btw, if you want to play a multiplayer match, you can enter Quake Net webirc on channel #0ad or #0ad-dev and ask for a match, there are usually people there to play -
..I left it a little angular as before. Is it too much? .."sand dune" test (225 faces). Good idea or not? (I suppose that sand is default ground in desert biome, so it should merge together and look more realistic with sand dunes.) On it. My "polar" design test (I know - trees are terrible - experiment. But do you like those stones?): Nice work man! I think the angular formation looks nice. And nice touch with the vegetation The sand dune rocks formation is a very nice Idea, I like it and they look nice. However, I think that the erosion and sand on the top part of the rock looks nice but it's not very realistic. I think it would be better to focus on the "sand covered" and erosion part of the rocks to be on one side of them rather than in the top, like if the wind blow from that direction for very long time. Polar rocks are looking nice also I'll write some the steps you have to follow in order to test your creation in-game (or point you to the tutorial that if I remember correctly a team member did) so you can get visual feedback of the final result Nice work, keep it up Mirek!
-
Based on the screen I'm guessing you are trying to import the DAE file with multiple meshes like the hull and the turret but naming the meshes like props. That seems to be the problem. I'll try to explain: - You need a "main" single mesh, like the hull. - To add the turret and tracks to the main mesh (and other meshes if you want) you need null-objects (I think they are called "helpers" in Max, "empties" in blender) parented to the "main" mesh, and placed where the center of the turret mesh and the tracks mesh will be. - These helpers names must start with "prop-" or "prop_" - On the .xml file of the "main" mesh, you'll indicate to the engine that you want the turret on the "prop-turret" and the tracks on the "prop-tracks" helpers' locations. You can open a unit .xml for example to see how to add them.
-
I forgot my pendrive at work and I wasn't able to work today and commit the shields and textures Expect them soon. Btw, normal/specular are needed? I know currently animated meshes cannot show normals, but can props? or they're too small to even bother?
-
@ All: your voice has been heard ^^

-
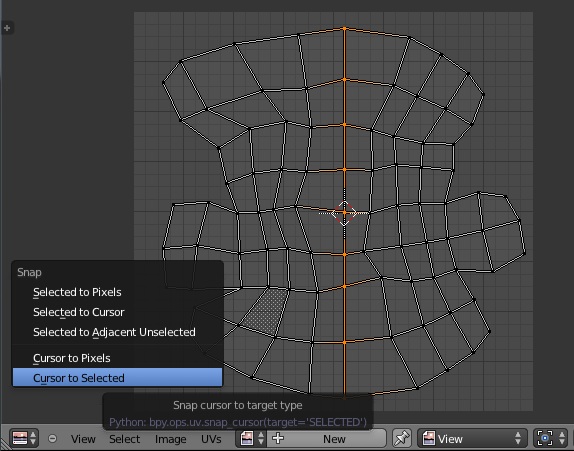
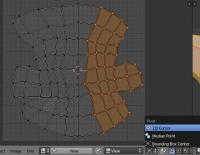
The transparency guide I wrote is just for displaying in blender a preview of how it will look ingame. (Also for Blender Game Engine and rendering in blender internal [Cycles needs a different setup with nodes]) Once you finished your models and they're ready to import them in-game, you'll see how we "tell" the engine which parts use transparency UV unwrapping. Yes, It's tricky. It's one of the fields I learned a lot working for 0 A.D. and being limited to use only one UV coordinate. I thought on making a tutorial (hopefully a video-tut) explaining some of my techniques to UV unwrap. But I usually spend my free time working on 3Dmodels/textures for the game I'm not giving you a tutorial now (actualy yes, about UV overlapping ), but here are some nice tips (quoted for easier reading): -UV overlapping technique for texture tiling within the texture space. I use this technique for tiling a texture within the texture space. It's hard to explain, but I'll try anyway. 1.- Mark seams and unwrap the mesh. look for an edge loop that is almost straight and around the middle of the UV island. (Alt+right click to select the whole edgeloop) 2.- Rotate the UV island until the edge you selected is almost vertical on the UV editor: 3.-Scale the selected vertices on the X axis until is totally or almost a straight line. Key "S" for scale, "X" for scale on the X axis, and number "0" if you want them totally straight. (may cause a tiny bit of distortion, but it's ok) Once it's aligned, with them still selected, "Shift+S" => Cursor to selected. And the 2d cursor will snap to the vertical edge selected. 4.- Select the 2D cursor as the pivot point (left image). Select the right (or left) side of the UV island and hit "S" to scale, "X" to scale on X axis, and on the num pad hit "-" (minus) and number "1". This will make the right part of the UV island to overlap over the left "bending" on the straight line we accomplished. This is the result: Pros: You avoided a seam and there's more texture info (texels) per polygon (more detail) Contras: Depending on the texture, UV overlapping (or UV mirroring) is more noticeable. If it's a complex mesh you may get noticeable stretching. Practice makes perfection.


-
I think he's asking to me I'll work this night shift on finishing at least one texture variation for each shield shape to test them on the units BTW, shield meshes do not need any prop-points, right? just exporting with the center where we want the "root"? amirite?
-
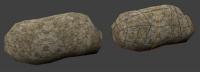
Hey Mirek! very nice work! I like the 3 sets except the small rocks on the third set. I think they're big enough, but I guess it's better to judge the scale of them with a house or building next to it. The texturing method should be UV mapping. -Yes, you can add vegetation, it'll give a nice detail touch. However, we'll not use the vegetation on the "desert" variation of the rocks. To preview transparent objects in blender (GLSL shading and renders) you have to do the following: - In material tab, check "Transparency" box, use "Z transparency" and set the alpha value to 0. (the object will no longer be visible on 3D viewport, GLSL shading and rendered) - Unwrap the vegetation object and use a texture with transparency (there are plenty of them in "textures\skins\gaia" folder of the game. - Finally, on the texture tab, in "influence" panel check the "alpha" box and leave the value at 1. And you'll have the transparent object showing correctly. Some notes about transparency: - I have to select the alpha objects to show the transparency correctly in blender, but it may be my config (it doesn't happen in-game) - If you get weird results rendering the object, check the "premultiply" box in the "image" panel of the texture. We usually count the triangles in the mesh rather than the vertices. Not-animated meshes are more cheap to render than animated ones. The actual polycount in your rocks is great
-
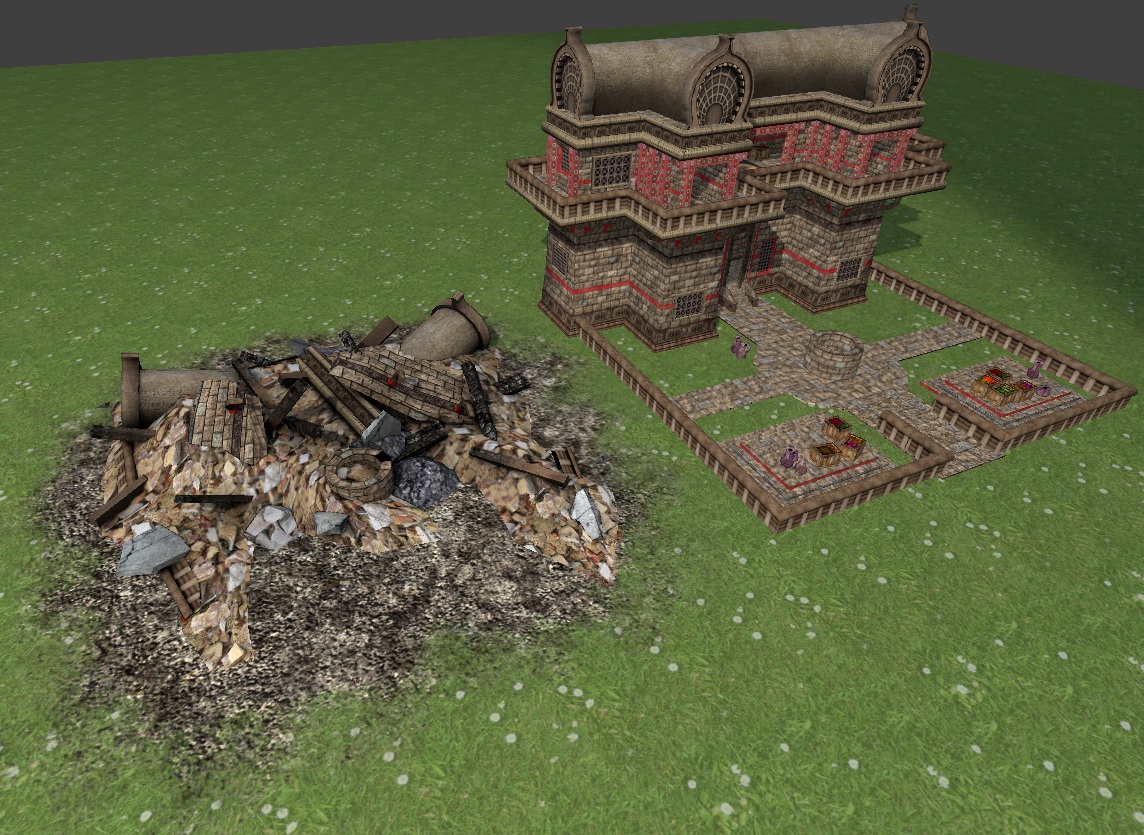
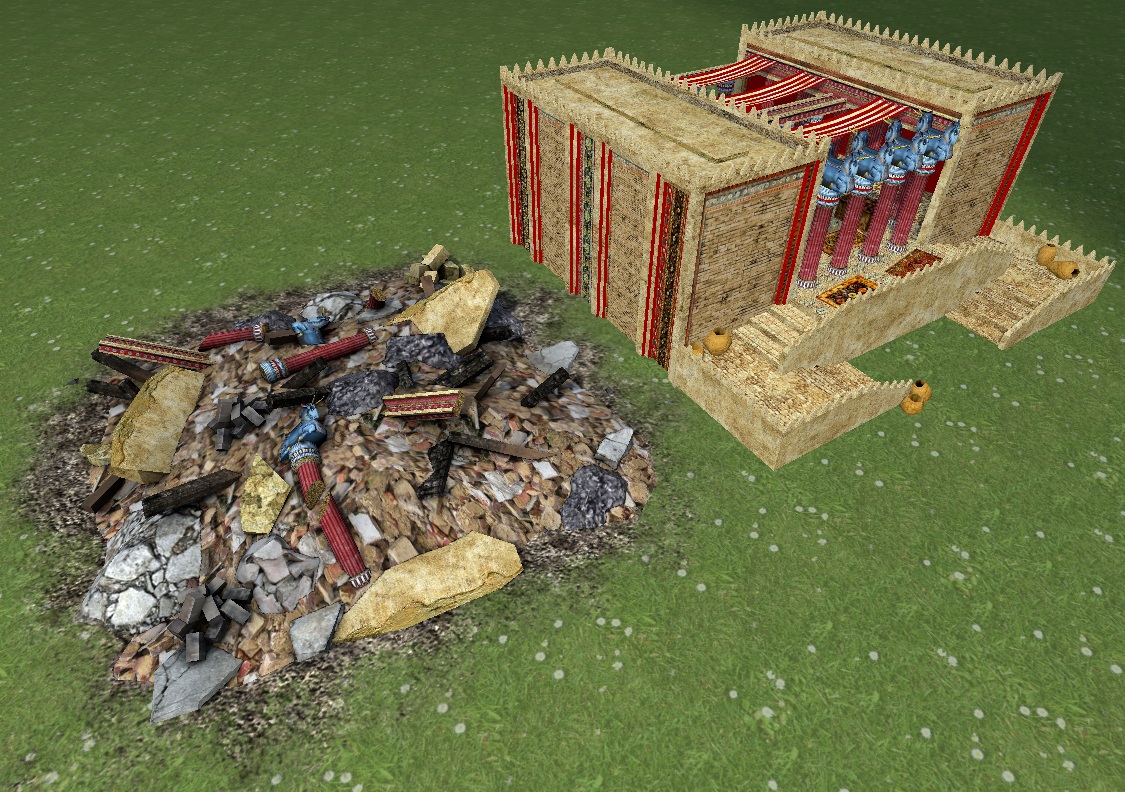
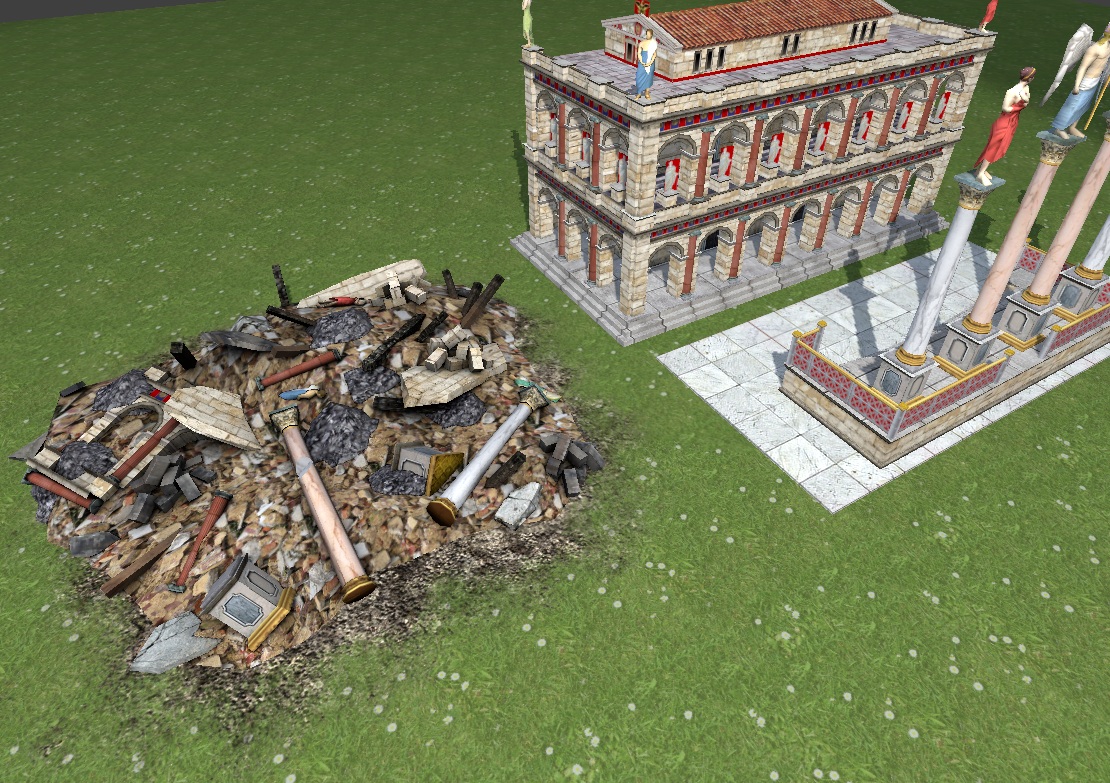
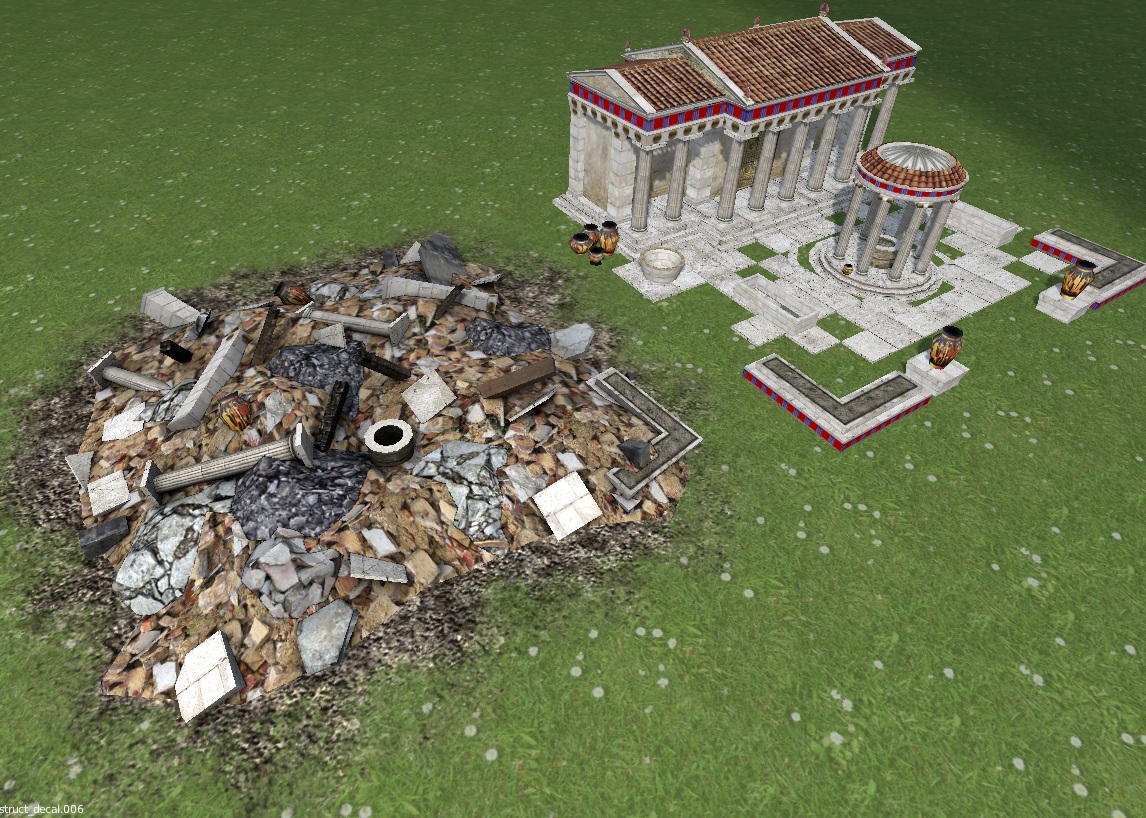
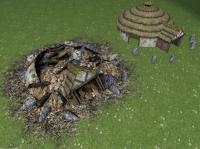
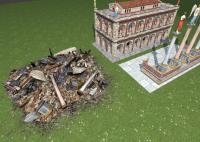
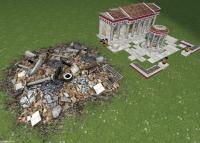
Unit work already started: http://www.wildfiregames.com/forum/index.php?showtopic=16056&st=240#entry248085 The thing is that currently we have very little active members on the Art dept. I should be doing rubbles instead of Mauryan shields I'm posting .blend files and texture templates to encourage the community to help with the art tasks to speed up things a bit. But keep in mind that people here is working on 0 A.D. voluntarily on their free time. And free time is not always available.