.png.a9ae33b5e5ddb0eb2b142b612b99c428.png)
Lion.Kanzen
-
Posts
25.684 -
Joined
-
Days Won
302
Everything posted by Lion.Kanzen
-
.thumb.png.ce58cea22940c255f5b0a735d5abee36.png)
===[COMMITTED]=== Update Camel Units
Lion.Kanzen replied to wowgetoffyourcellphone's topic in Completed Art Tasks
Berebers are more... dangerous in this time frame. and old Saharan tribes. -
===[COMPLETED]=== Athena Parthenos Statue
Lion.Kanzen replied to Mythos_Ruler's topic in Completed Art Tasks
Nope at all. -
Primero debes saber que los mapas al crearlos tienen 2 nombres uno interno dentro del juego y otro como archivo externo al juego. Depende de tu sistema, operativo poder cargarlos. https://trac.wildfiregames.com/wiki/GameDataPaths
-
Heavy lag..performance...etc
-
Fixed
-
I. Know..My bad...
-
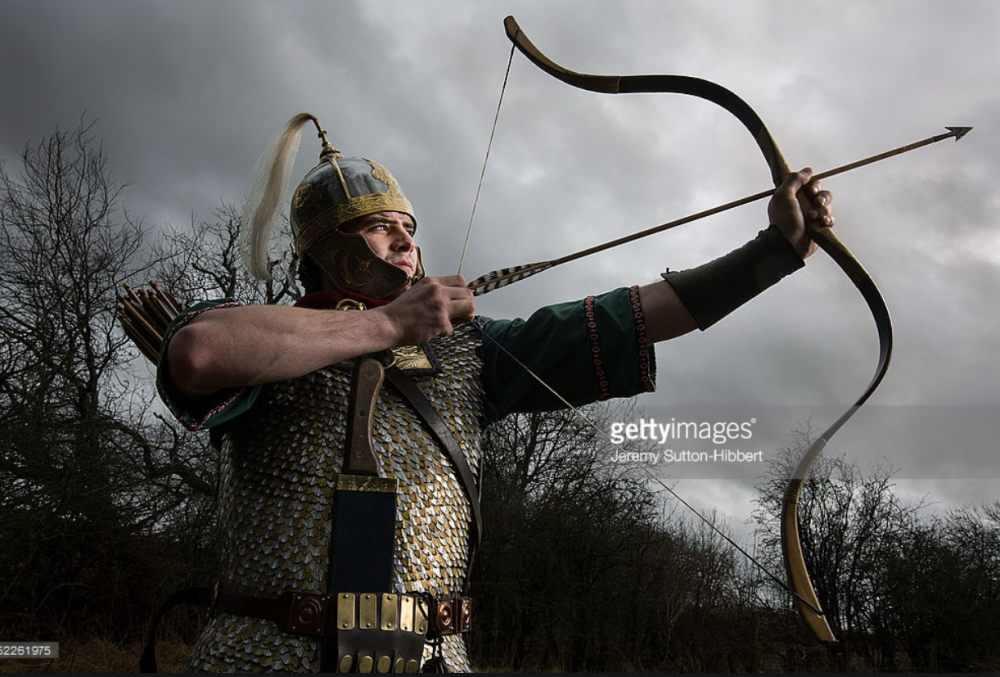
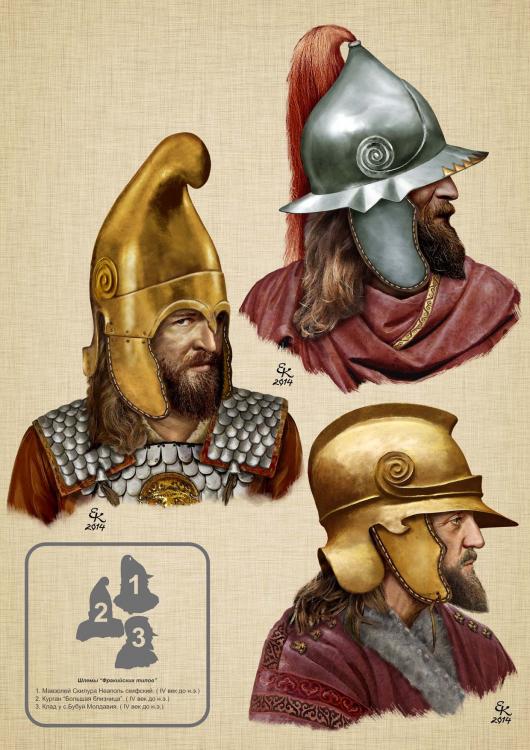
The sarmatian helmet (kind) in roman(imperial) archers is my speculation is related with Dacian, but barely. it need more deeper search. Dacian style, the evolve of conic Scythian. Have the scamata style from nomadic and germanic tribes.
-
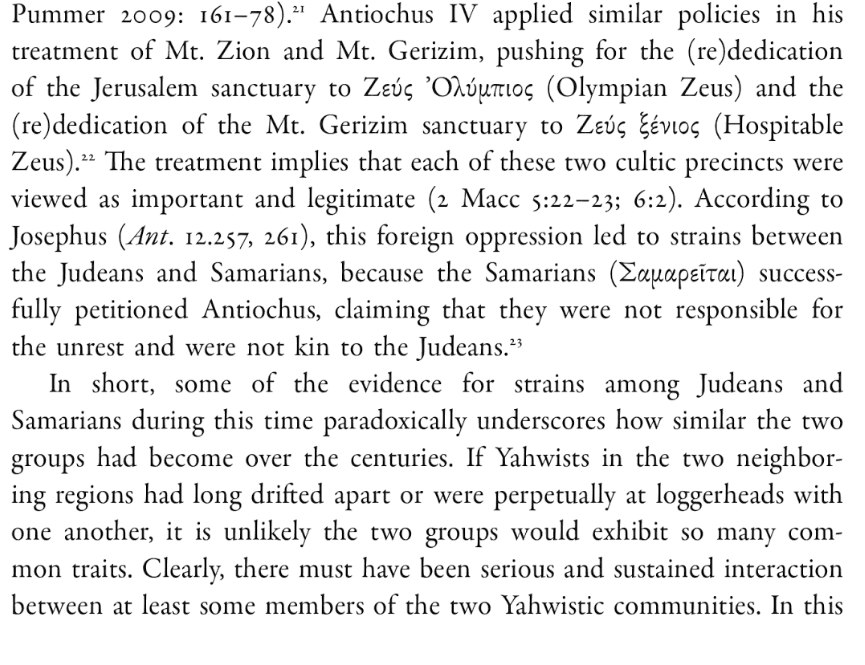
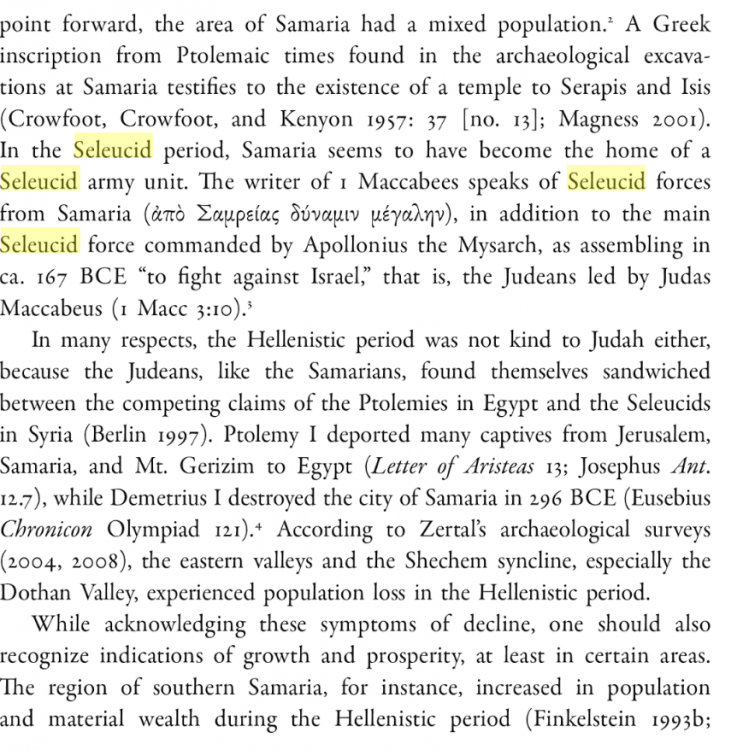
Other point is the rivalry and the hated for Seleucid's rule and the emerging power of Judeans and the Seleucid war for them.
-
I found more information, based in the period of Hellenization in Judea and Israel, if you are studying the bible, you know in this time Judean don't like his neighbors the Samaritans. https://books.google.hn/books?id=YAgZUPT6CusC&pg=PA170&lpg=PA170&dq=samaritans+seleucid&source=bl&ots=ENRTN1cSIG&sig=Ox7eUYShQ-h0bn6C70mOf9Z125g&hl=en&sa=X&ved=0ahUKEwjZqc3f08HYAhVI4yYKHfW1CMoQ6AEIKTAB#v=onepage&q=samaritans seleucid&f=false Sorry if its image, but you know how is the results of Google search engine.

-
-
That mask...
-
We need update this or make new one.
-
The game is very easy to be movable. even a non coder as me can.
-
I need help, I can't open 0 ad editor map
Lion.Kanzen replied to delvin's topic in General Discussion
Gracias. esto nos va servir para futuros problemas como el tuyo. -
sería bueno si nos proporcionas los archivos de error crashlog.dmp Quote
-
===[COMMITTED]=== Update Camel Units
Lion.Kanzen replied to wowgetoffyourcellphone's topic in Completed Art Tasks
Cataphract camel. or lancer camel. -
===[COMMITTED]=== Update Camel Units
Lion.Kanzen replied to wowgetoffyourcellphone's topic in Completed Art Tasks
@Alexandermb you can add the unit to Xiongnu(later)- 162 replies
-
- 1
-

-
- animations
- modeling
- (and 1 more)
-
===[COMMITTED]=== Update Camel Units
Lion.Kanzen replied to wowgetoffyourcellphone's topic in Completed Art Tasks
Have sense, illustrated Silk road. -
Thank you.
-
Spanish for if other user ask. https://discord.gg/gKzNcb
-
https://discord.gg/cwp99Wj
-
https://discord.gg/jTZeRP
-
===[COMMITTED]=== Persian Unit Texture Upgrade
Lion.Kanzen replied to wackyserious's topic in Completed Art Tasks
I'm not sure if you don't publish it , I don't notice. -
Gaulish Specific Names in Welsh/Gaelic?
Lion.Kanzen replied to Andrettin's topic in General Discussion
Carthagian and Iberian aren't possible. -
We have many , I create one in Spanish, we have other in English and German.