

DanHart
-
Posts
42 -
Joined
-
Last visited
-
Days Won
3
Posts posted by DanHart
-
-
Thanks. This is interesting. I noticed with animations, they seem to not line up perfectly in the center of the large tile. It makes sense there are smaller tiles within the larger tile. It seems the 16 tiles, as opposed to 4 tiles or one tile, combined with unit range would allow more melee units to be able to attack a single surrounded unit? Is the unit position at the center of a single tile or the vertexes that make up tiles? Would I be correct to assume the code would position things based on the height map data which is the vertex locations, and then positions the mesh?
-
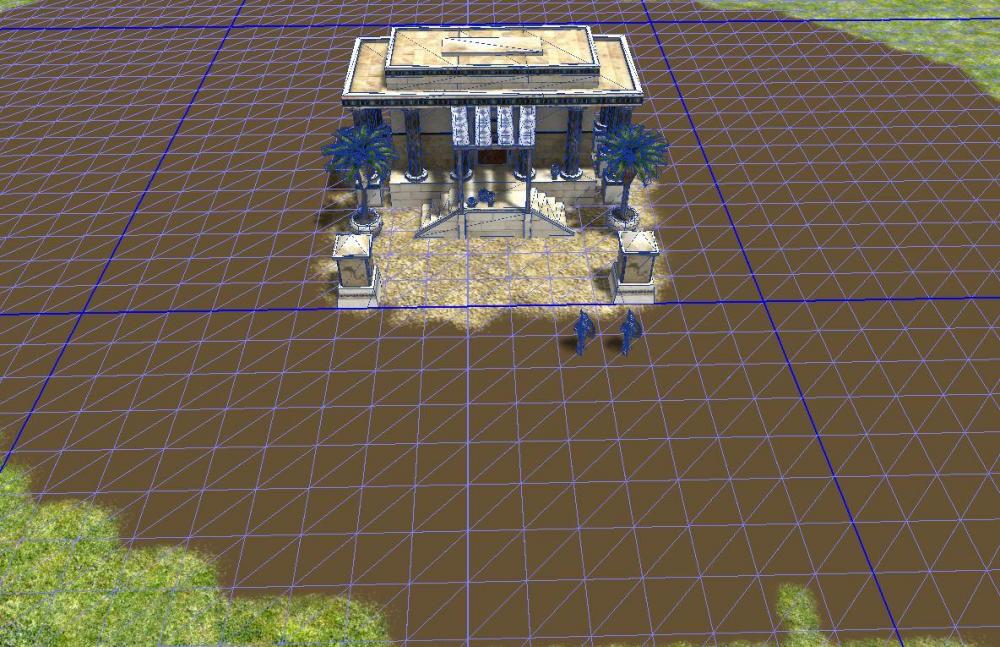
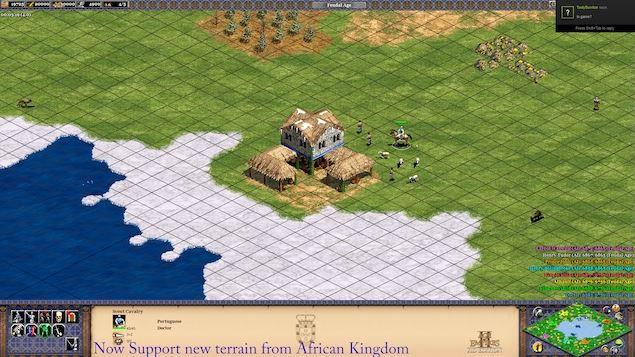
I came across the wireframe mode in Atlas and I was wondering about the purpose of the grid lines. I noticed this in AOE2. Are they related to pathfinding or mainly for map organization and structure proportions?
-
 2
2
-
-
Thanks for getting back to me! Is it something that can be done at the xml level, or does it have to be done at the C++ level? Where can i find the tickets/tasks?
-
If I had a building design (mesh) and wanted to have a small piece of terrain adjust to a predefined layout that fit the building mesh what would I need to mod? This action would take place every time the player constructed this building. Can this be done through the XML files?
For example, the terrain would adjust to create a small hill every time the player built a fort structure. Another example would be to combine props and a few small structures along with the terrain to create a fort structure.
-
Thanks for the help! I haven't used the SVN before. Is it best to copy and past the code into notepad, then save, and import, or is there a better way to access files?
Also, how do you tell the new animations in the SVN apart from the old animations?
-
1
-
-
I select the mesh then select the whole armature --> ctrl+P and automatic weights.
When you say "re-rigging" I am not going through each bone and doing weight painting.
I decided to give the new armature a try. I grabbed a new unit mesh, and adjusted it. It looks like it worked, but the props did not attach.
-
The props are working, but I am getting an error claiming there are "unrecognized bones". I used the new heads :). They look a lot better than the old heads and look pretty good on the old meshes.


-
I don't know how to get the new meshes. I have done a little modeling and can make new props, and textures, but this is my first attempt at more intermediate stuff. I thought if I could make it work with the old mesh, I could do it with the new meshes when they are available in the next release.
-
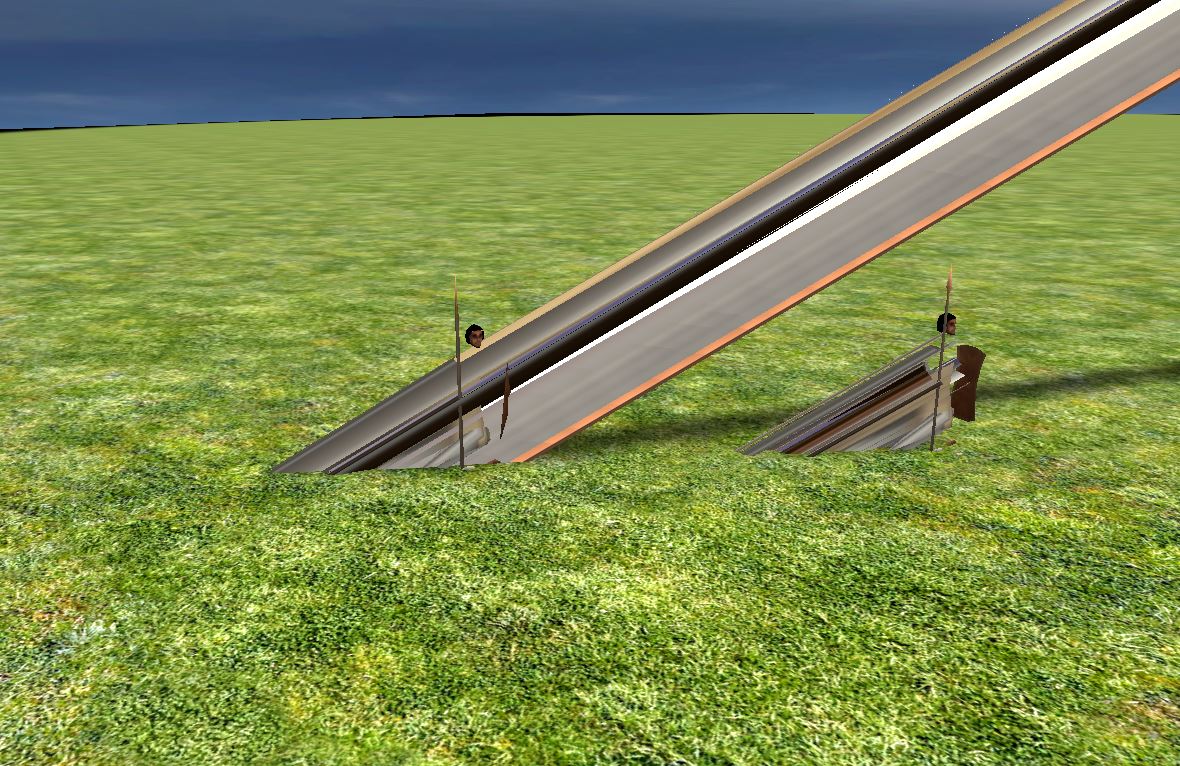
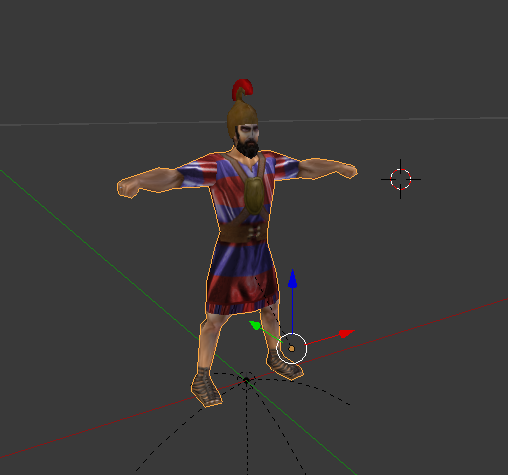
Hi Everyone,
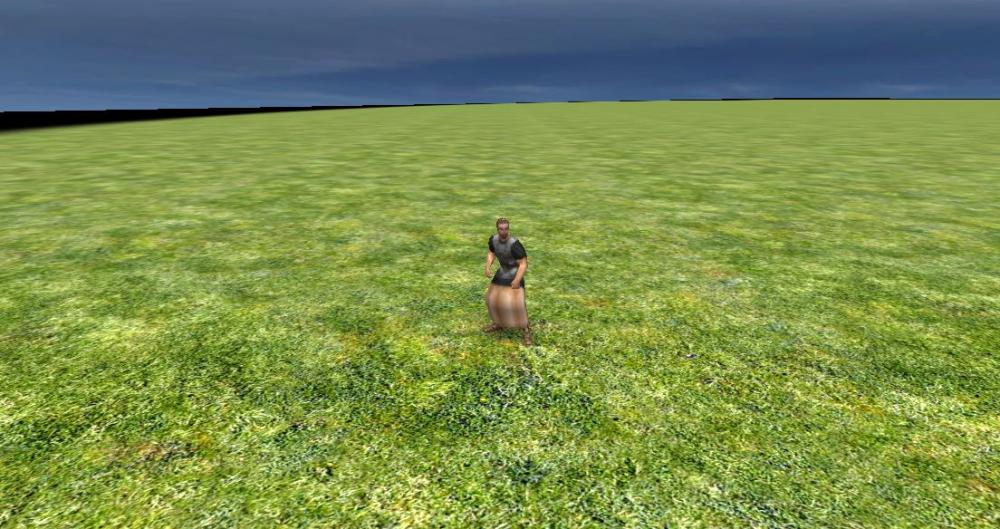
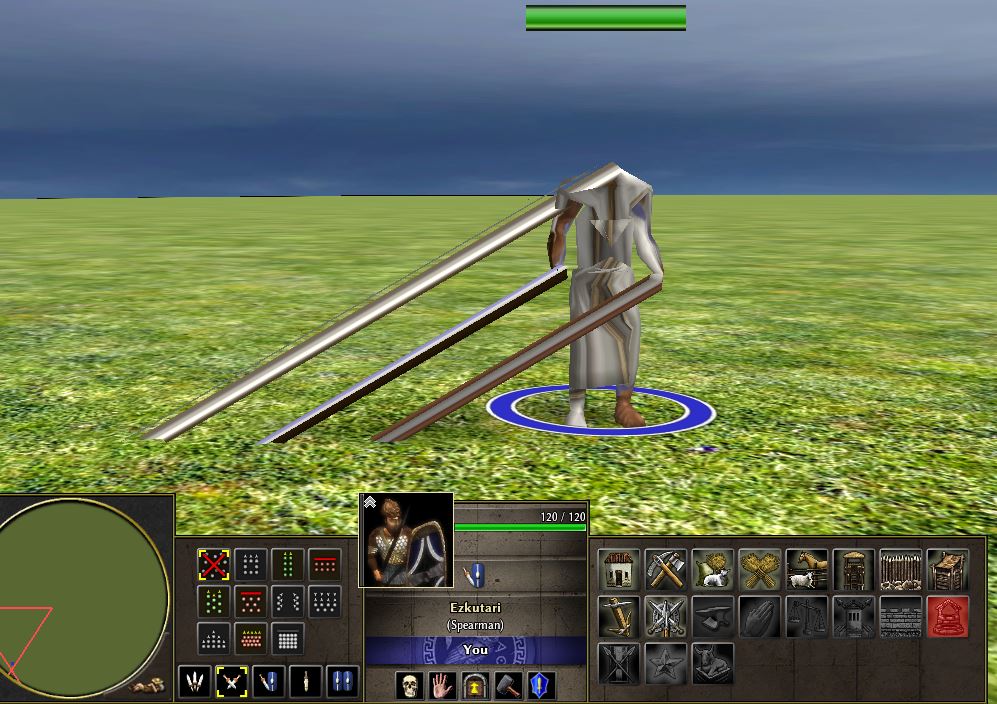
I tried to modify one of the existing old meshes and apply it to the old armature. I wanted to make the tunic longer, but not as long as the dress. It works when I load an animation, but when I export to 0 A.D. it appears deformed.
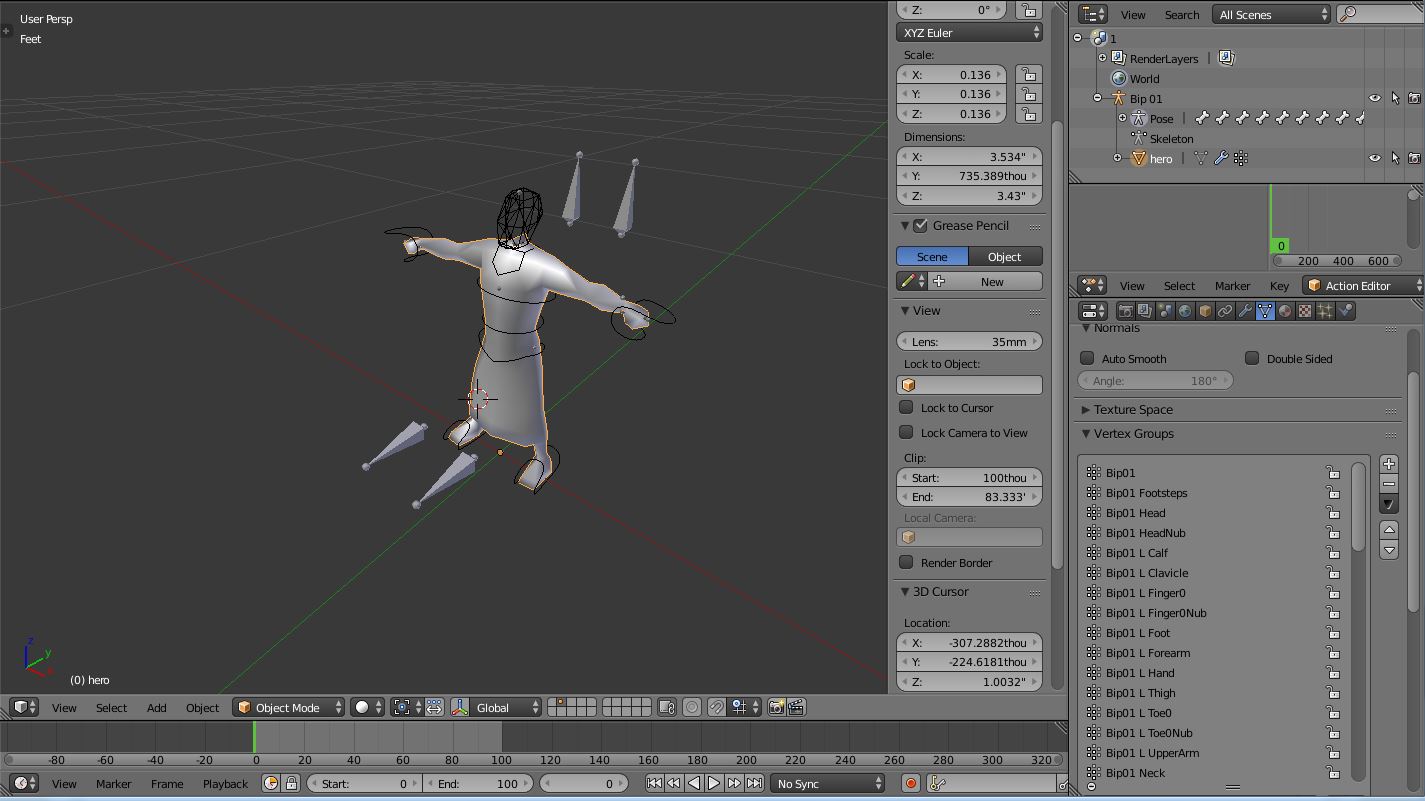
My Process:
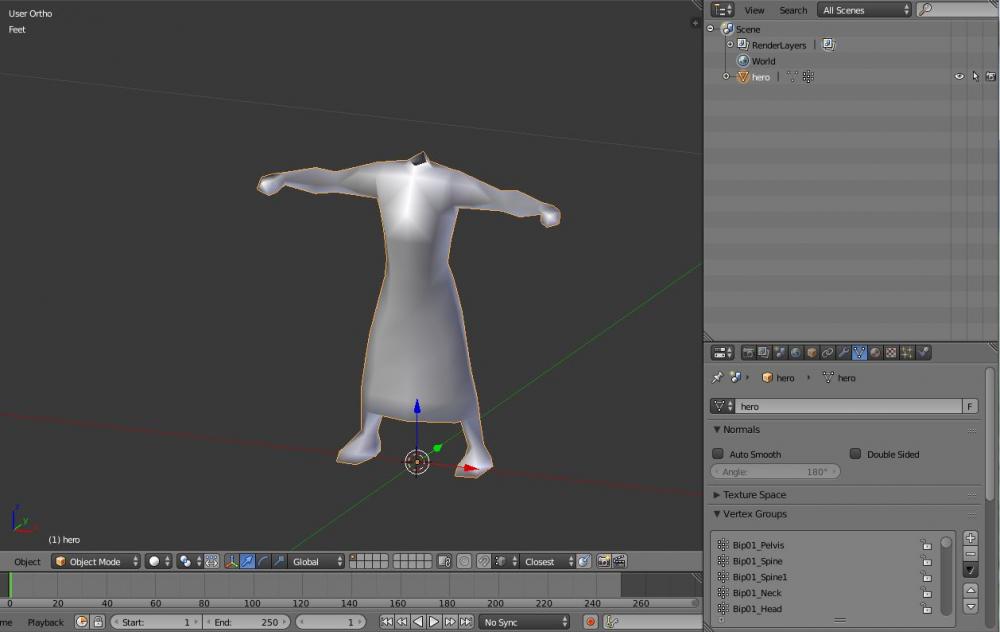
1) Import old 0 A.D. mesh --> I used m_hero
2) delete armature
3) modify mesh
4) export collada
4) open new .blend
5) load existing animation --> I used spear attack
6) delete mesh for animation
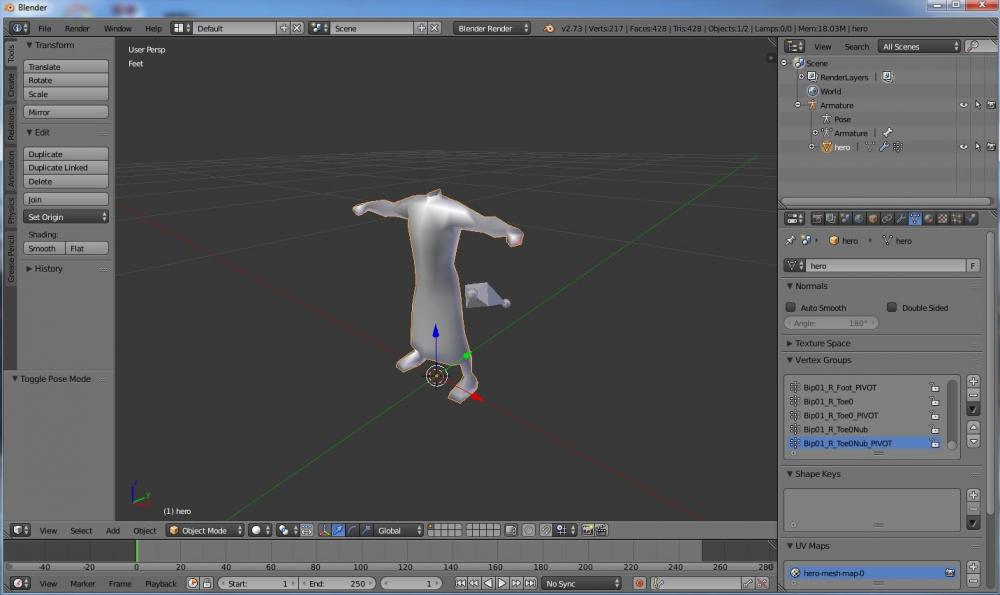
7) load modified mesh, delete all vertex groups
8) apply modified mesh to armature --> selected mesh, selected armature, ctrl+P (used automatic weights)
9) test animation --> it worked, cleared action editor, export modified mesh an armature --> followed guide for export settings --> http://trac.wildfiregames.com/wiki/AnimationExportTutorial
10) modify xml for modified mesh, put modified mesh and xml in 0 A.D. folder
Result:
-
are the new meshes available in alpha 21 or are they a separate download?
-
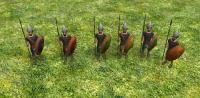
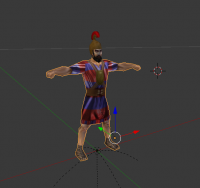
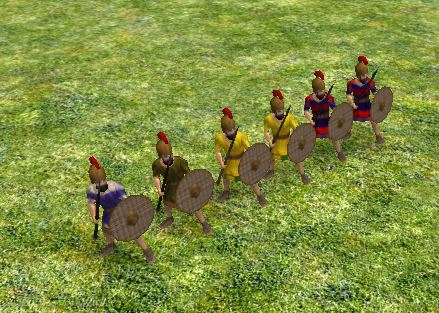
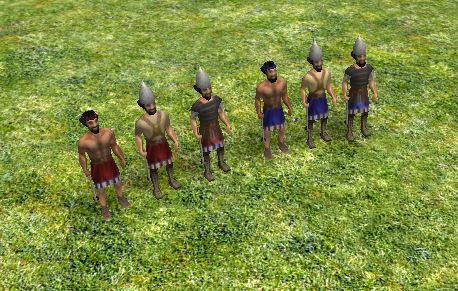
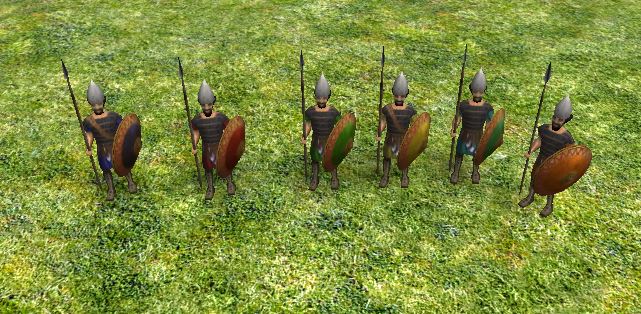
These are the Assyrian Units I am currently working on in case anyone is interested. When they are finished, I will have a zip folder for anyone who wants them.
Assyrian Army
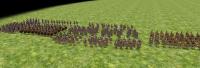
Auxillary Spearmen
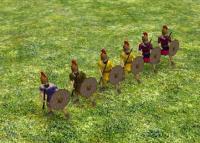
Infantry Archer
Infantry Slinger

Levy Spearmen
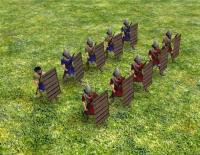
Levy Swordsman
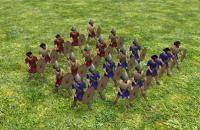
Professional Soldiers
-
6
-
-
This is what I do to create player_trans or player color in textures
1.) Select the red parts or desired parts that will use player color using software select tool and cut the selected parts
2.) Place them in a separate image layer.
3.) Tweak the colors and lower the color saturation/deepness (best color for me is light gray)
5.) Once desired low sat. color is achieved, change layer transparency between 5% - 25%, make sure there is nothing below the transparent parts of the texture.
6.) You can now save the png and test it, in-game.
I hope this helps

It worked out great thanks!
-
Yeah I can do some textures. I didn't snip from an actual product. Its random photos on the internet of things like leather or photograph. I understand what you mean though. I won't do that. I made several more textures today, but I am not sure add to do the alpha transparency for the player color. I would like to remove the blue, yet retain the cloth texture for the player color. I am not sure how to do that yet though.
Is there a list of animations that have been done for the new meshes?
-
Thanks! I used existing textures. Lots of copying/pasting and layers ("hard light", "overlay"). For the leather belt I grabbed textures off the internet with the Snipping Tool (found in MS windows > start menu > programs > accessories > snipping tool), and then I would paste them into GIMP as a layer. Then I would scale them (when you grab them from the internet they are usually way too big for 256 x 256) to fit. After scaling them down, they don't resemble the original texture at all. You should be good on copyright. I could could explain a lot more, but I think it would just be easier to see the attached. ( I have all the files for the character, including the original gimp and blender files.
I hope to make a few more, then I will try to make some animations. (I will use the new meshes for that)
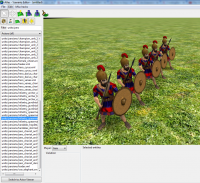
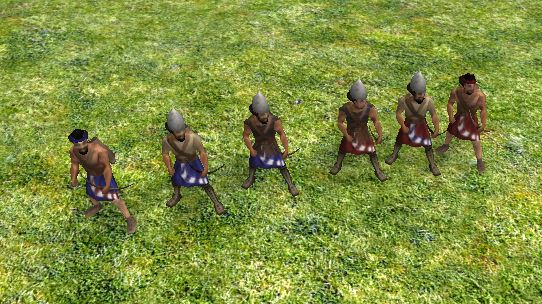
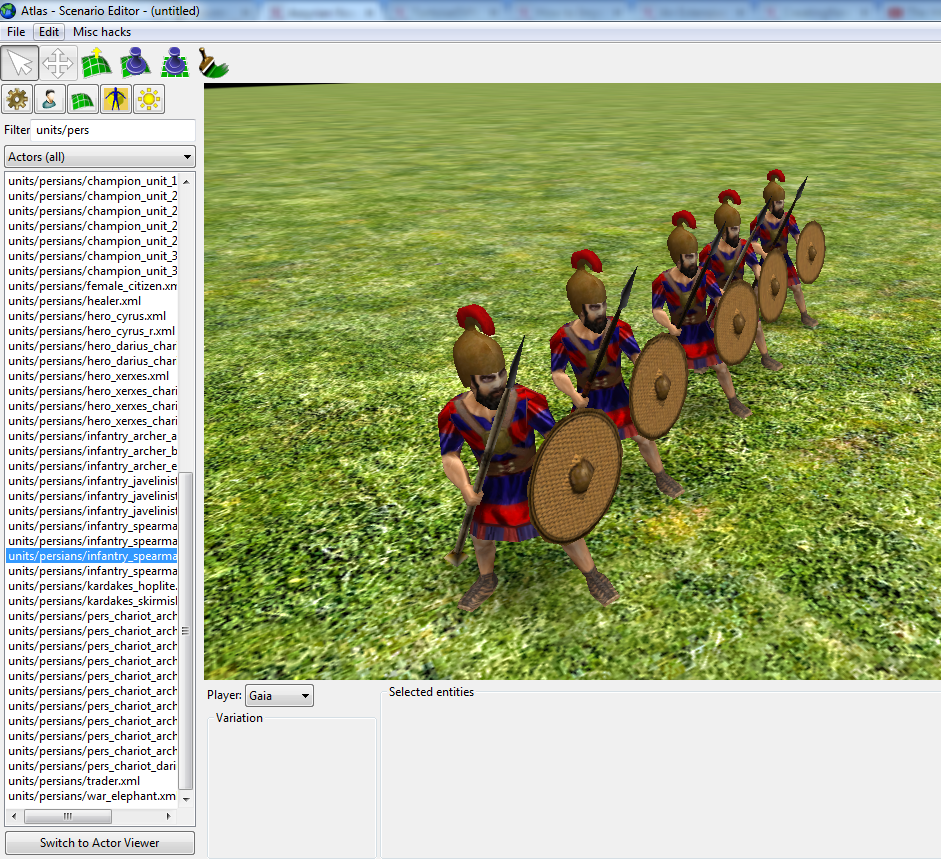
Edited Post:
Textures on the new mesh. Note: spear is reversed and helmet is too big.
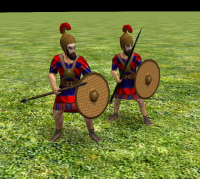
Note: The zipped files are for the old mesh.
-
On sylepsis (anyone else have the urge to call it syphyllis?), main release not the SVN, could someone refresh my memory on how in the hell I get a mod to enable? I copied the entire public folder over (because i intend to make lots of changes and removals and it's just easier than going back and forth) as well as the mod.json that's modified to describe the mod. The mod shows up in the manager, but when I enable it and then disable the orginal game and press 'start mods' it just flashes right back to the manager. Could someone tell me what I'm doing wrong here?
Technically the main game is a mod which is located in the public folder. In addition the "mod" folder within mods is another mod folder. I tried downloading an existing mod and enabling it, but I could not get it to work either. I have just been putting files in the public folder. I am really new at this too. Here is a link that might help.
http://trac.wildfiregames.com/wiki/Modding_Guide
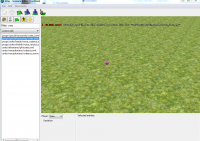
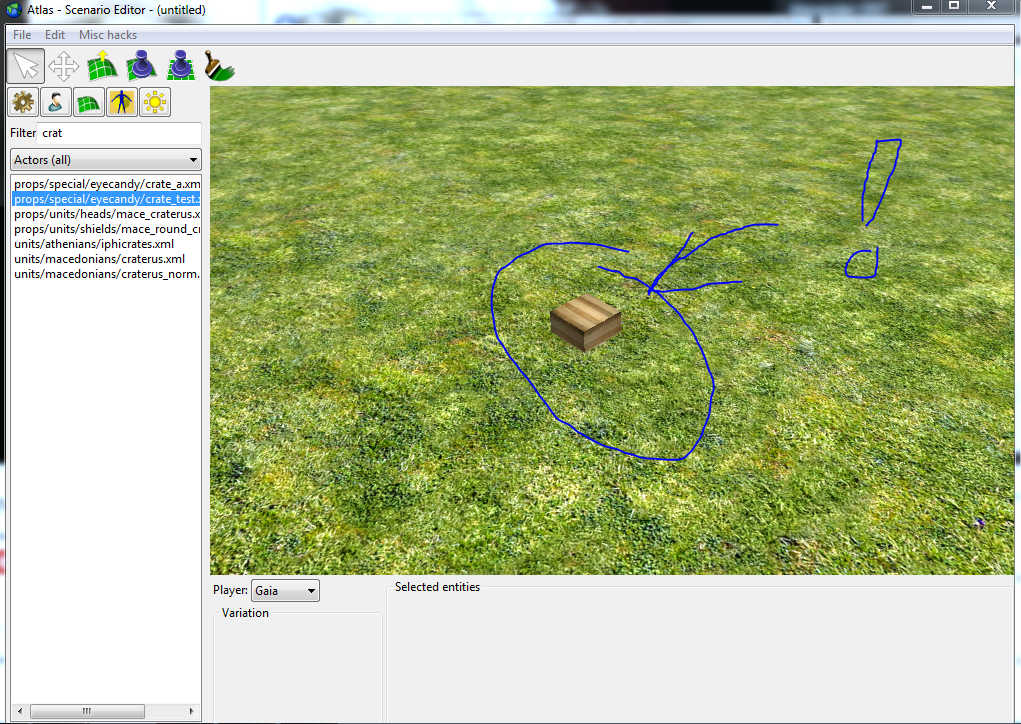
Before you try and change a bunch of things, I suggest you start small. Try and get the box into ATLAS scenario editor.
http://trac.wildfiregames.com/wiki/Basic3DImplementation
Hope this helps.
-
1
-
-
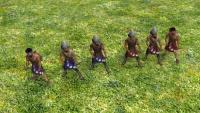
I started work on an assyrian auxillary infantryman. Now I just need to see how to get it in the game. Here it goes!
-
-
-
2
-
-
It worked! Main menu comes up first and Atlas works from selecting the main menu. Thank you!
-
Part 1:
I downloaded Alpha 19 directly. As soon as I start the game from the shortcut in the Windows start menu, it initiates and takes me directly to the mod selection menu. Is this normal? I thought it should take me to the main game menu.
Part 2:
In the mod selection window, I select the Alpha 19 mod, enable, and then start the mod. Then the main game menu comes up. The game works fine. However, when I go to the scenario editor, it does not start. I have given it over 5 min for the user interface to show up. However, when I open windows task manager pyrogenesis.exe is running in the background. This does not seem normal. Intuitively, I would assume the main game menu starts from the beginning, then I can go straight to the scenario editor. This is not the case. Is this normal? What do I need to change to get Atlas working?
-
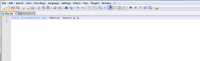
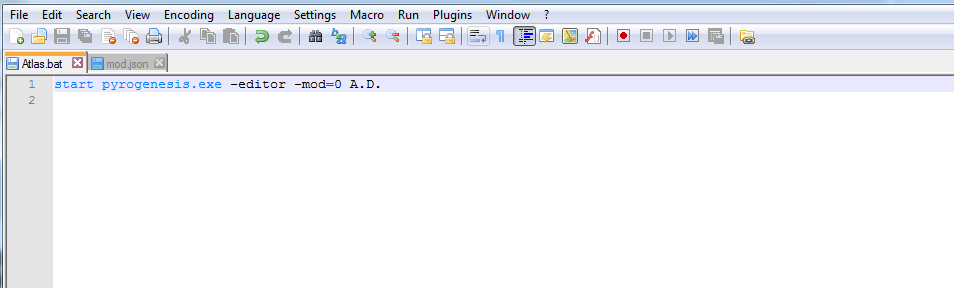
Well you should have a file called atlas.bat in your game folder.
Using notepad add to that file :
-mod=nameofyourmod
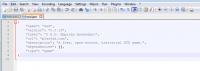
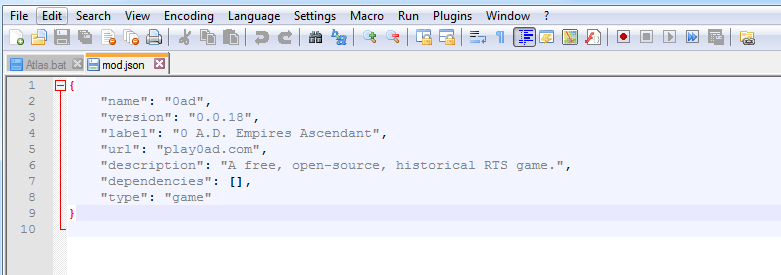
You might need to create a mod.json for it to load correctly. Here is an example
{ "name": "han_china", "version": "0.0.19", "label": "0 A.D. Han China", "url": "forum.wildfiregames.com", "description": "Adds the Han dynasty of the Chinese civilization to 0 A.D.", "dependencies": ["0ad>=0.0.19"], "type": "content.civilization"}I am still getting the same problem.
This is the mod.json file that came with the game download and is currently in the mod folder.
This is the change I made, but the results are the same.
I was under the assumption that I could change the existing files within the public file and then move them to the mod. Technically the game as it is released is a mod?
-
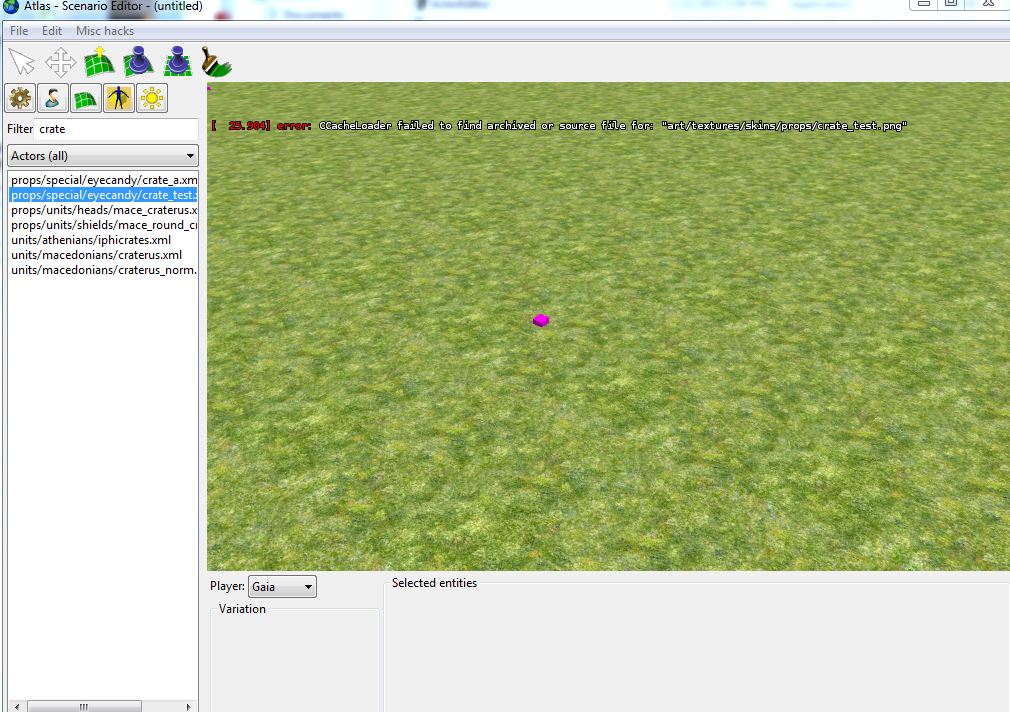
they display fine when playing the game as downloaded. When I tried the wood crate test, I have the wood texture as a png and it remains a png. I assumed that the engine automatically converted the files because all my files from the game download are DDS. I guess the conversion is just in game though.
You need to pass -mod=yourmodname when loading atlas.
I am not sure what you mean? How do I accomplish this?
-
The engine does not seam to be converting the texture image from png to DDS.
-
I gave it a run, it doesn't work. It only works when I have the files in the "mod" folder.


Grids and Pathfinding
in Game Development & Technical Discussion
Posted
If the if the footprint is JS, does this mean there is another overlayed system for range determination, and path finding just deals with unit navigation? For example, when an archer has a range of twelve, and fires an arrow at another unit at range ten, does that mean ten path finding tiles or is there another system governing attack ranges?