Leaderboard


Popular Content
Showing content with the highest reputation on 2012-10-27 in all areas
-
Head over here if you're interested: http://www.valvesoftware.com/linuxsurvey.php I will be attending the Ubuntu Developer Summit in Copenhagen in a few days and hope there will be some kind of beta announcement there as well. There will also be a number of game development related sessions that I will try to attend and report back on if I pick up anything of relevance to 0 A.D.1 point
-
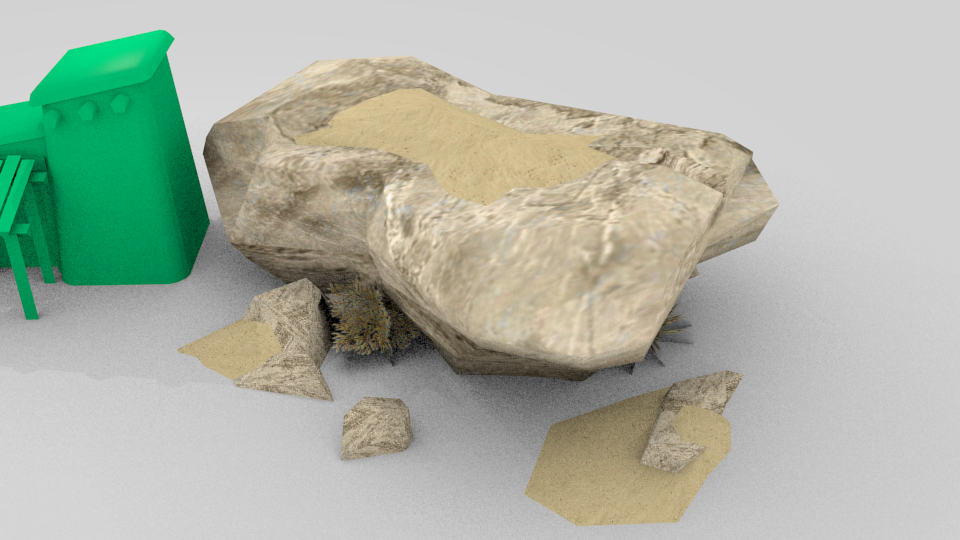
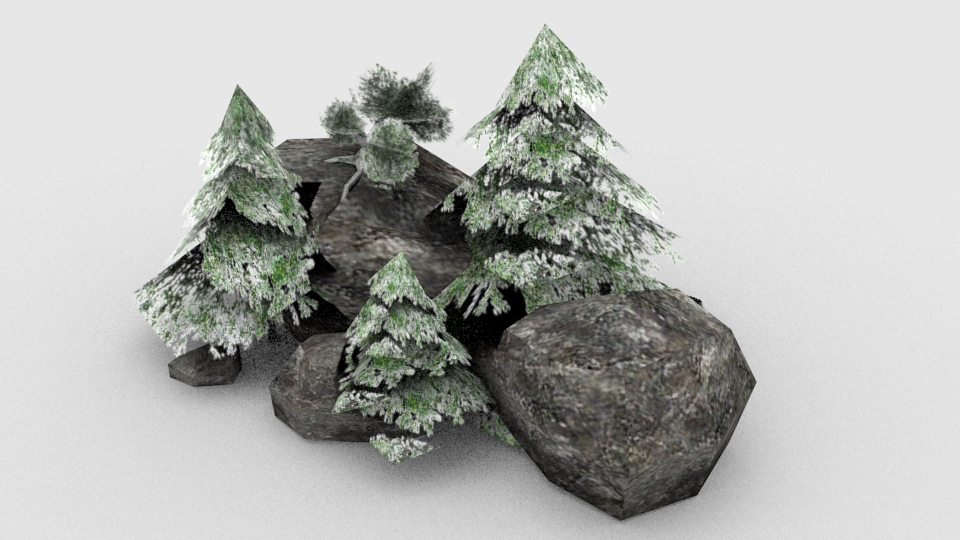
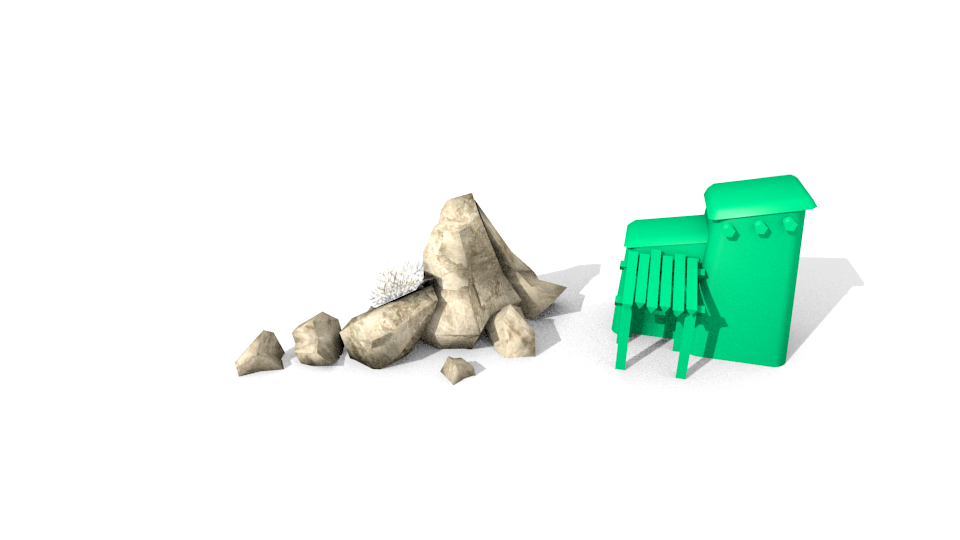
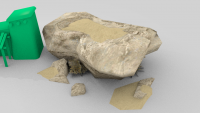
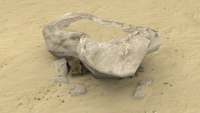
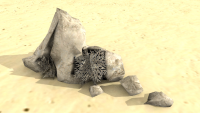
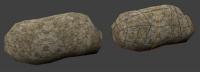
I see, I'll use MAPS AND BIOME GUIDE for specific examples. I look forward to Thanks for sharing the wealth. Some things were completely new for me (conformal unwrapping, using pivot point...). I was using quick'n'dirty Smart UV Projects, but your technique with pivot point is able to achieve better resolution. I'll play with that... Desert rocks with some vegetation... ..I left it a little angular as before. Is it too much? .."sand dune" test (225 faces). Good idea or not? (I suppose that sand is default ground in desert biome, so it should merge together and look more realistic with sand dunes.) On it. My "polar" design test (I know - trees are terrible - experiment. But do you like those stones?):


 1 point
 -
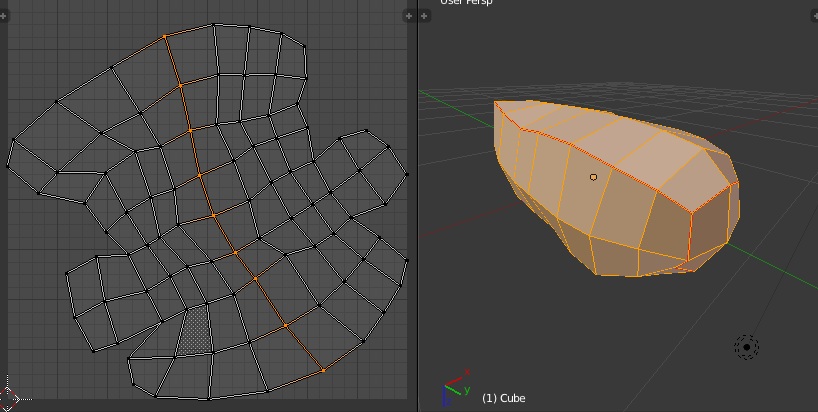
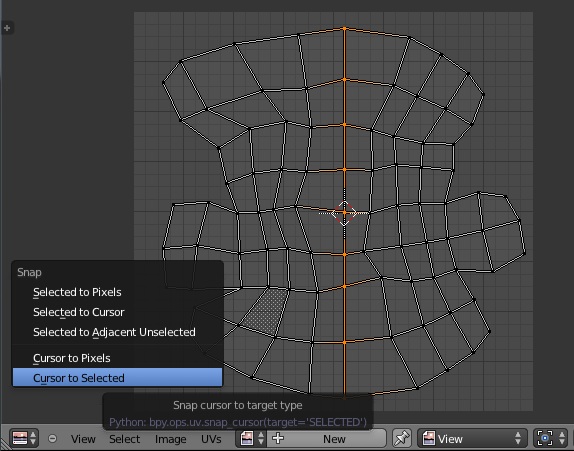
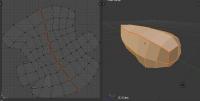
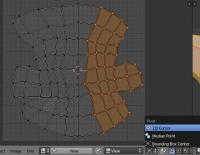
The transparency guide I wrote is just for displaying in blender a preview of how it will look ingame. (Also for Blender Game Engine and rendering in blender internal [Cycles needs a different setup with nodes]) Once you finished your models and they're ready to import them in-game, you'll see how we "tell" the engine which parts use transparency UV unwrapping. Yes, It's tricky. It's one of the fields I learned a lot working for 0 A.D. and being limited to use only one UV coordinate. I thought on making a tutorial (hopefully a video-tut) explaining some of my techniques to UV unwrap. But I usually spend my free time working on 3Dmodels/textures for the game I'm not giving you a tutorial now (actualy yes, about UV overlapping ), but here are some nice tips (quoted for easier reading): -UV overlapping technique for texture tiling within the texture space. I use this technique for tiling a texture within the texture space. It's hard to explain, but I'll try anyway. 1.- Mark seams and unwrap the mesh. look for an edge loop that is almost straight and around the middle of the UV island. (Alt+right click to select the whole edgeloop) 2.- Rotate the UV island until the edge you selected is almost vertical on the UV editor: 3.-Scale the selected vertices on the X axis until is totally or almost a straight line. Key "S" for scale, "X" for scale on the X axis, and number "0" if you want them totally straight. (may cause a tiny bit of distortion, but it's ok) Once it's aligned, with them still selected, "Shift+S" => Cursor to selected. And the 2d cursor will snap to the vertical edge selected. 4.- Select the 2D cursor as the pivot point (left image). Select the right (or left) side of the UV island and hit "S" to scale, "X" to scale on X axis, and on the num pad hit "-" (minus) and number "1". This will make the right part of the UV island to overlap over the left "bending" on the straight line we accomplished. This is the result: Pros: You avoided a seam and there's more texture info (texels) per polygon (more detail) Contras: Depending on the texture, UV overlapping (or UV mirroring) is more noticeable. If it's a complex mesh you may get noticeable stretching. Practice makes perfection.


 1 point
 -
Hello Mirek! Welcome! Nice to see that you're also working on some rocks! If you wish some advice or to know how I did my rocks, I made a tutorial about it a while ago: https://vimeo.com/46526749 Keep them coming!1 point